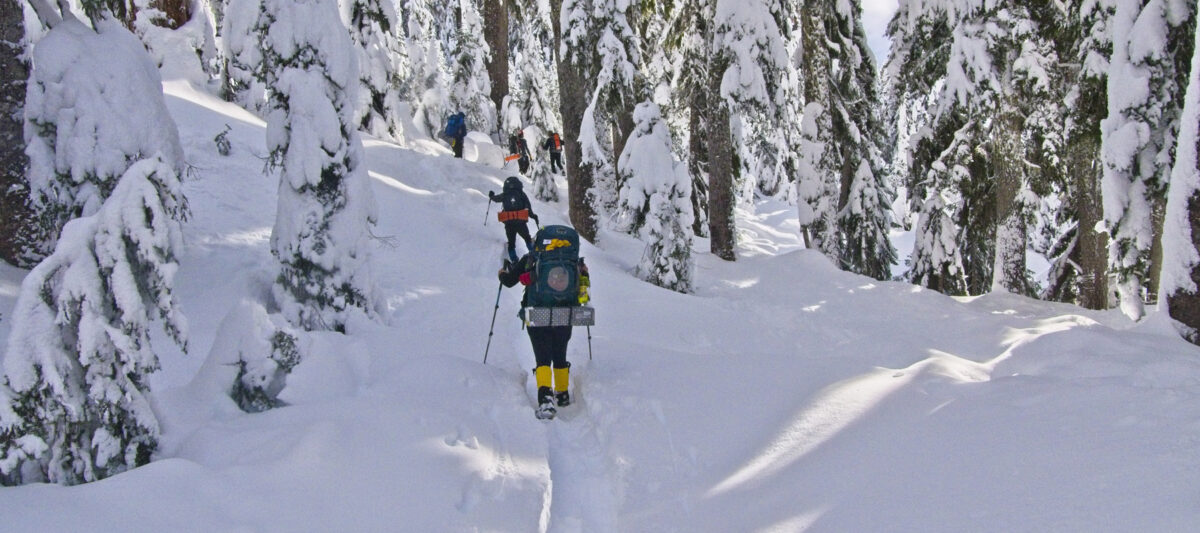
When packing a winter backpack, safety is an important consideration. In winter, how you pack matters more than any other time of the year. For example, when you reach the crest of a ridge and encounter a severe wind chill, your rain jacket and gloves need to be at the top of your pack or easily accessible. This post reviews safety considerations and general packing methods.
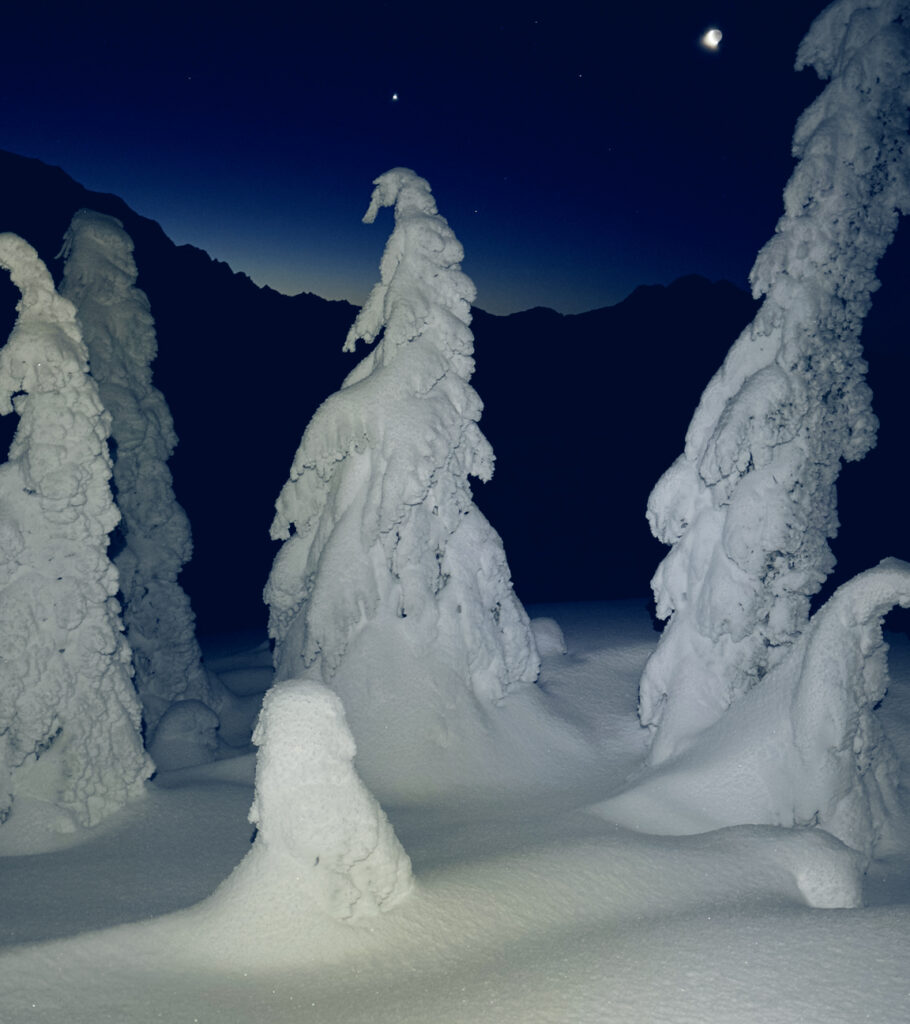
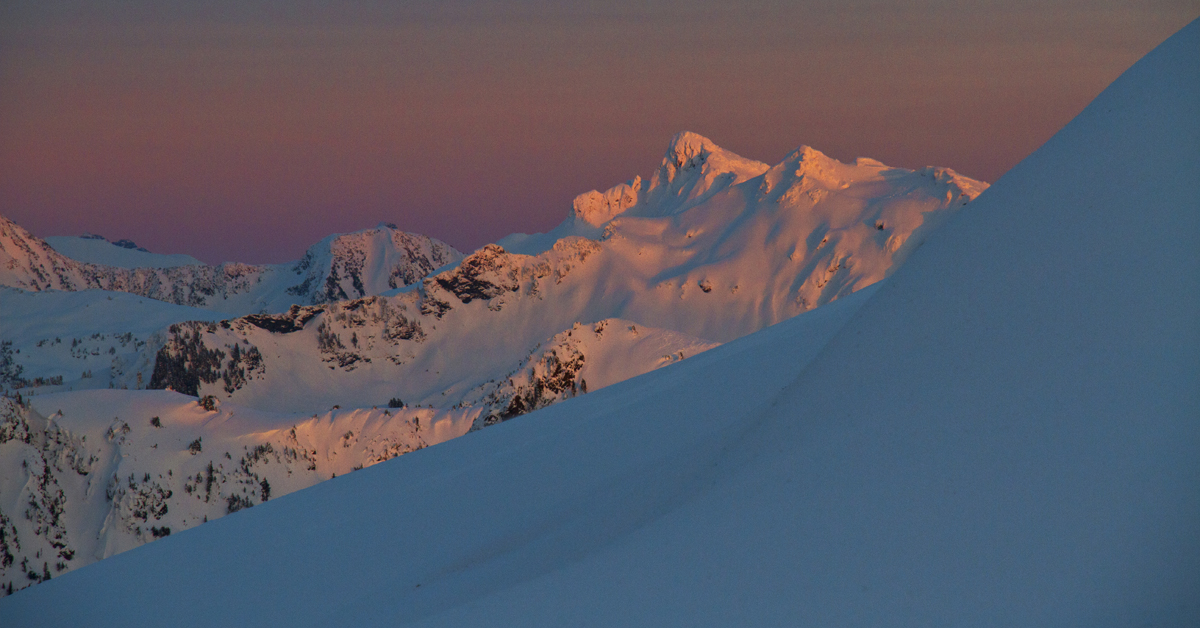
Getting out at night in the quiet is one of the high points of the winter backpacking experience. The snow reflects the moonlight and the winter nighttime landscape becomes radiant. When the moon is gone, the Milky Way arches across the sky. Most of the seemingly endless number of stars are merely the ones visible to us within our galaxy. You will find that the night can provide some of our deepest and most memorable wilderness experiences.
The more you go out at night the more you will fall in love with the experience.
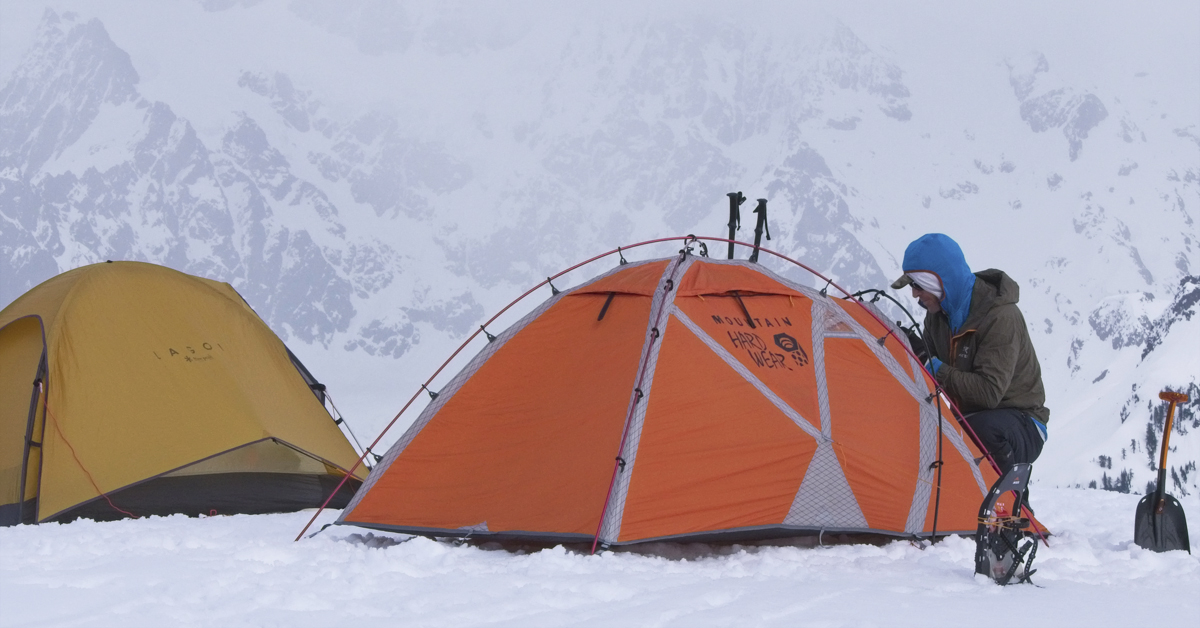
The short answer is yes. I’m not going to do a detailed review of particular tents, but I want to mention a few models that I see often on our trips. I’ll also discuss a few pros and cons of using 3-season tents in the Pacific Northwest winter conditions and some of the best 4-season options available. In context, I’ll be referring to small and light tents for backpacking rather than tents that are used for basecamps and long stays in one location.
Even ifyou are an experienced 3-season backpacker, realize that the winter adds unique risks, and what you know about common gear, such as stoves, hydration systems, sleeping bags, sleeping pads, and tents, will be different from what you need to know for winter conditions.
Know the Risks
Whenever you hike into the backcountry you expose yourself to dangers and risks, such as avalanches caused by snow, mud, or rock slides. There are hunters, falling rocks, falling trees, tree wells, and the risk of slipping off ledges, falling through snow or ice, suffering from hypothermia, snow blindness, frostbite, severe sunburns, stove accidents, etc.
Know the risks when you decide to go winter backpacking. Be prepared and bring what you need. Basic tips for staying warm and knowing what gear to bring are explained below. This is not a comprehensive discussion of winter backpacking or backcountry safety, but it does contain important things that you MUST know before going.
In the PNW most people hike July-September and this concentrated use can put considerable strain on the trails. To control the adverse impact, Oregon is now expanding permit areas to limit the number of hikers and the same is likely to happen in Washington state in the years to come. The popular area known as the Enchantments, had over 17,000 visitors in 2017 with 3000 overnight permits issued (over 20,000 people applied). These permits are just for six months—May 15 through October 31. July and August probably get the highest number of visitors.
In the hiking community, everyone is expected to follow voluntaryleave-no-trace (LNT) practices. However, if even 1% of 10,000 visitors per season on a 20 mile trail don’t know or don’t care about LNT practices and leave garbage or human excrement along the trail, that’s 100 incidents of the environment being trashed each year.
This is a concise list of safety tips for beginners who want to start winter backpacking.
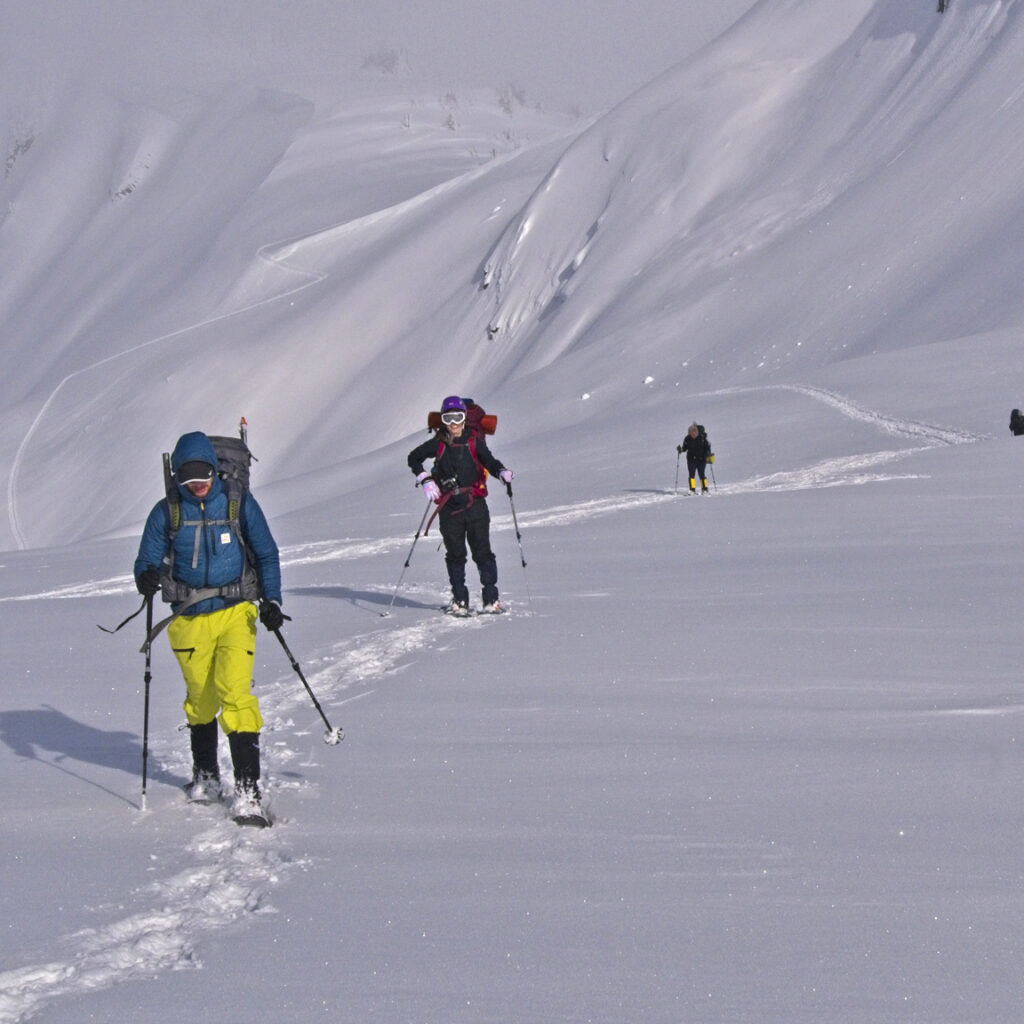
Avoid traveling alone. Hike in a group when possible and keep in eyesight of each other. If you think you may get separated, consider using walkie-talkies.
Learn about snow. Start with short snowshoe day-hikes. Learn about the seasonal differences in snow conditions, from deep early season fresh snow to late-season consolidated snow. Learn how snow changes not just over the course of the season but of the day and how these changes affect travel speeds and gear requirements. Get to know which conditions require micro-spikes, crampons, snowshoes, and ice axes. learn about common dangers, such as avalanches, tree well, cornices, and snow bridges. Learn how to layer clothing and what levels of insulation are needed for different temperature ranges. Being too hot—overheating and sweating—or being too cold can both lead to hypothermia.
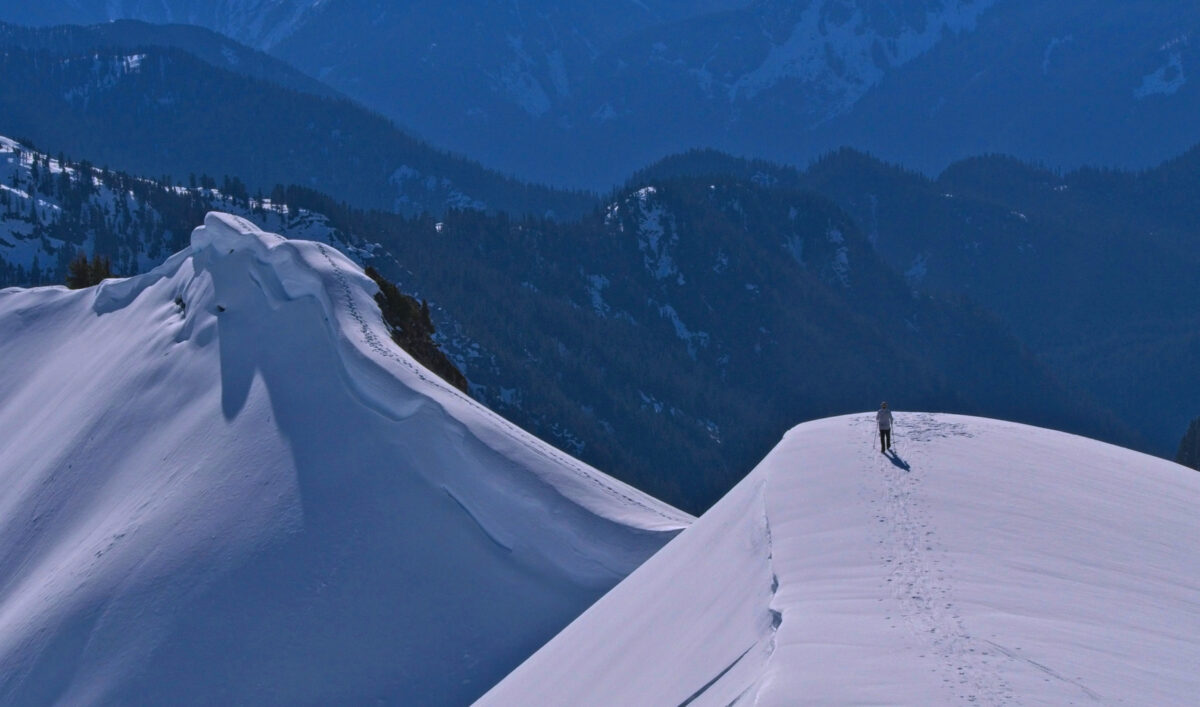
Give greater attention to trail navigation. Know how to orient a map, use a compass, and spot reliable natural markers. Consider bringing a GPS, but don’t be reliant on electronic devices or batteries which may fail, especially in cold weather. Don’t depend on clear visibility, or expect exposed trails, or footprints in the snow for directions. Both wind and fresh snowfall can obscure your tracks quickly. Learn more about trip planning here: Trip Planning.
Carry appropriate gear suited for the conditions and weather. Make sure you have the appropriate type of snowshoes for the terrain, the necessary sleeping bag and sleeping pad ratings, a tent that sheds snow, etc. Bring essentials such as first aid, headlamp, extra food and water, rain gear, etc. Wear a helmet and carry an ice ax when traveling on steep snow-covered slopes. Have a gear checklist and do a visual inspection before leaving home. Avoid cotton clothing because it doesn’t wick moisture away from your skin making it harder for your body to retain warmth. Always be prepared for conditions colder than anticipated. It is good to have a sleeping bag that is 10–20 degrees warmer than what you expect. If you’re just out for a day hike, carry emergency shelter in your day pack.
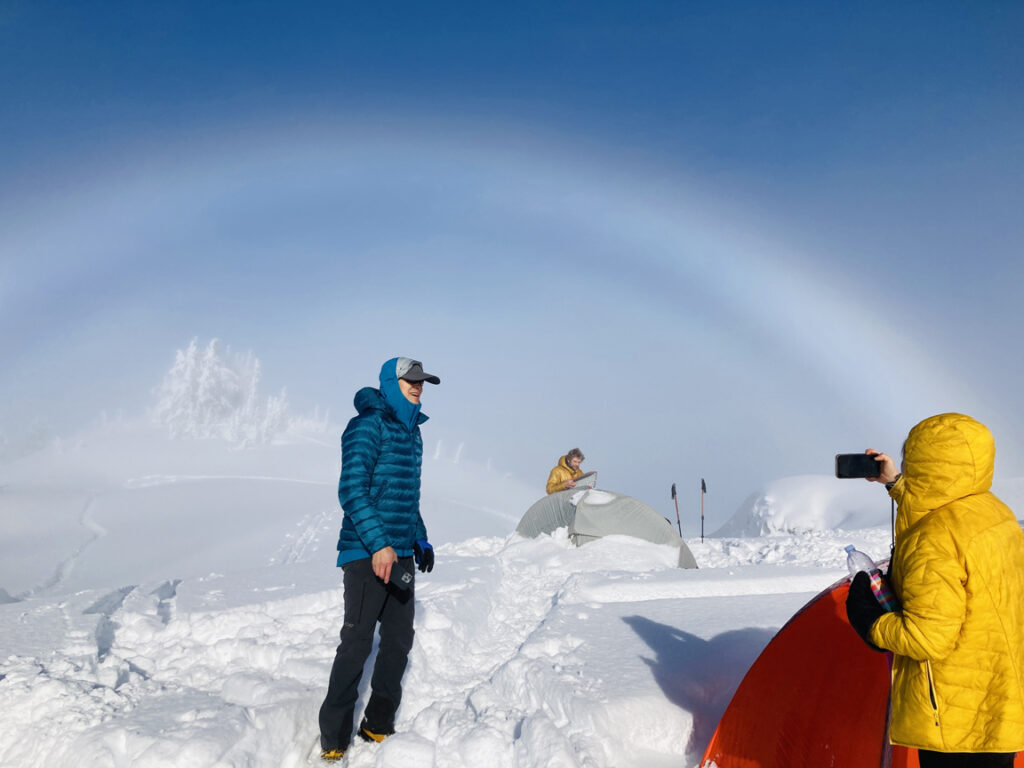
Expect to get wet and be prepared to deal with it if it happens. Even though it is winter, you will likely sweat a lot while hiking. Always be able to change into dry clothing. Snowmelt can cause your boots and gloves to get wet. Wear gaiters to reduce snowmelt getting into your boots. Bring extra socks and gloves to replace wet ones. Carry rain gear even on clear days because the snow melting in the trees above can create rain showers in the forest that quickly soak your pack and clothing. Protect your sleeping bag, base layers, down jackets, and extra clothing with dry sacks inside your backpack.
Attend avalanche classes. Learn how to identify risks. There are often free classes available, such as those hosted by REI.
Check weather and avalanche forecasts before leaving. If things look worse than anticipated, know when to turn around.
Carry avalanche safety gear. Bring a transceiver/beacon, probe, and shovel and know how to use this gear when traveling in areas with avalanche risks. Practice beacon recovery with friends.
Be prepared for wind. Check the wind forecast and carry wind protection, such as rain pants and jacket, goggles, balaclava, and extra gloves. Learn more about winter winds here: Preparing for Winter Winds.
Bring UV protection. From January to July, UV reflection from the snow intensifies and can cause severe sunburns and snow blindness. Bring category 4 sunglasses (Glacier Glasses) to protect your eyes. Bring sunscreen and be able to cover exposed skin. Even the bottom of your nose and lips can get blistered from UV exposure on the snow.
Learn how to avoid common snow dangers such as tree wells, snow bridges, cornices, and crevasses.
Carry a stove and multiple fire-starting devices. Don’t rely on fires for warmth. Collecting wood and starting a fire in deep snow is difficult and often counter-productive because you expend valuable time and energy and often get wet in the process. It is also environmentally unsound in high elevation alpine areas. A stove is a faster and far more reliable way to generate warmth, resupply water, and heat food. Tents, sleeping bags, and jackets don’t create warmth, they preserve it. Your warmth comes from within your own body. The first rule of staying warm is to not lose body heat. While hiking you will wear fewer layers of clothing to avoid sweating, but once you stop moving you must layer up quickly to avoid core heat loss from your body. Once you lose warmth it is hard to recover it. Avoid staying in the wind without wind protection and sufficient layers. Being able to use a stove to create hot water bottles and heat food is important to generating, sustaining, and recovering warmth.
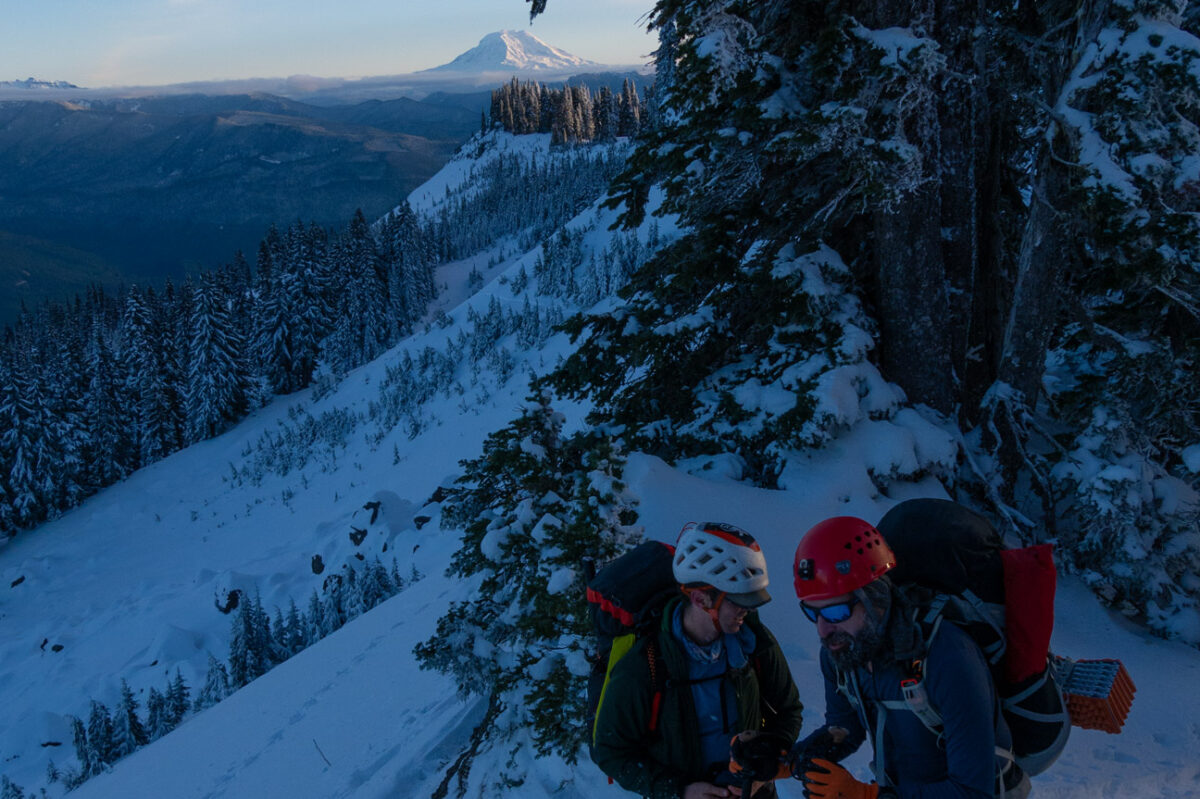
Wear a helmet. If you’re crossing snow covered slopes or icey rocks where you can slip or fall and hit your head against a rock or tree, then wear a climbing helmet.