A true account of frostbite in the Cascade Mountains.
I want to share this story because frostbite can occur when you don’t expect it. You must be proactive about protecting your hands and feet in cold weather.
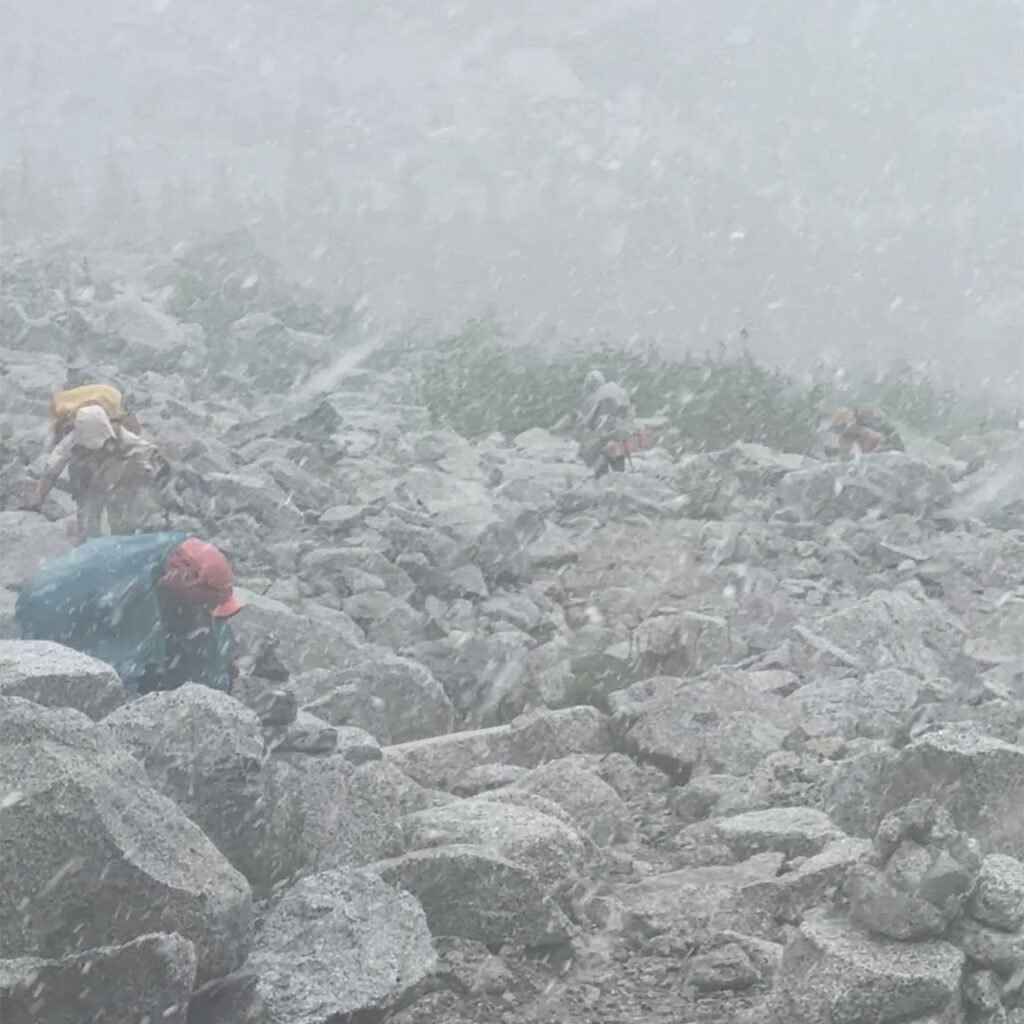
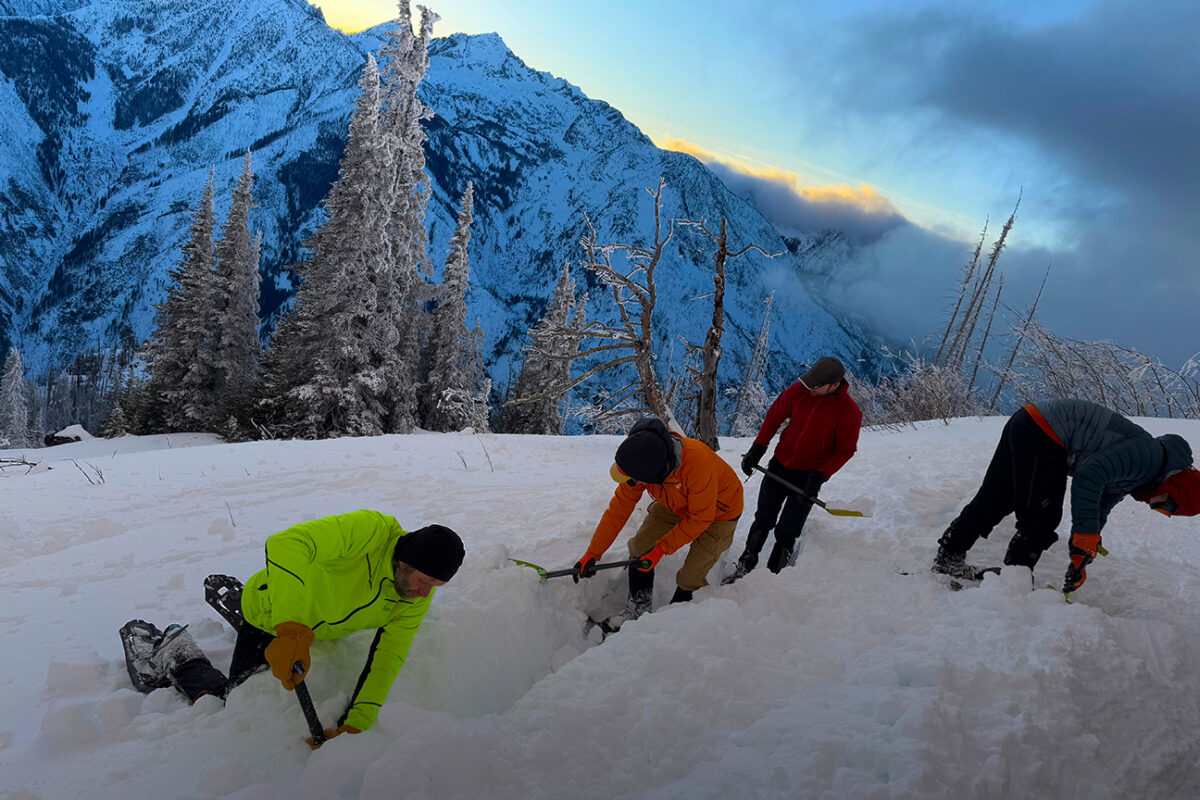
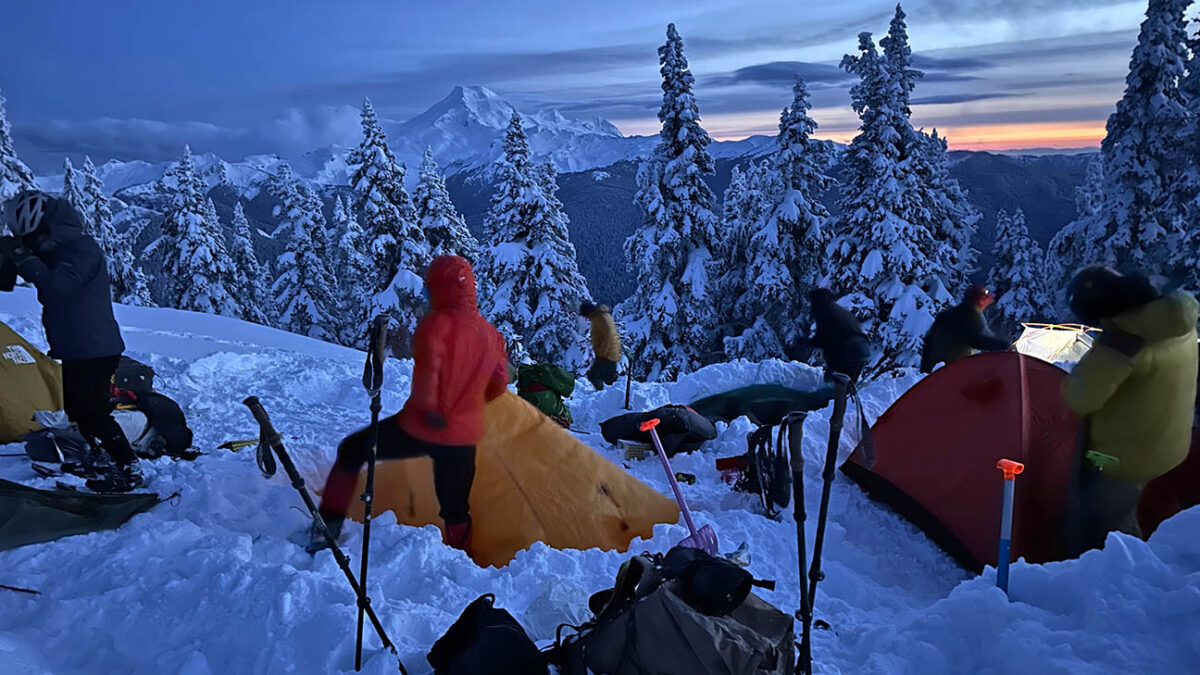
In the last 10 years of winter backpacking, we have recorded temperatures as low as 4 degrees F on multiple occassions, been in freezing windstorms so strong that it was difficult to balance and walk, a gale-force snow storm so severe it was declared a state of emergency by the governor, a blizzard at 10,000 ft on Mount Rainier, and had tents destroyed in freezing winds, yet never had a single case of frostbite. We came close with one case of frostnip, which occurred due to an unexpected snowstorm in August 2024, with high winds, when one hiker left her hands exposed for too long. Her injury was painful, numb, and slightly purple, but she recovered in a week. However, on the recent trip (March, 2026) recounted here, three people developed stage 2, superficial frostbite (purplish skin with swelling and blistering). It is important to understand why.