Categories
Winter backpacking Winter Backpacking Gear Winter camping Winter Planning

What’s in My Winter Backpack

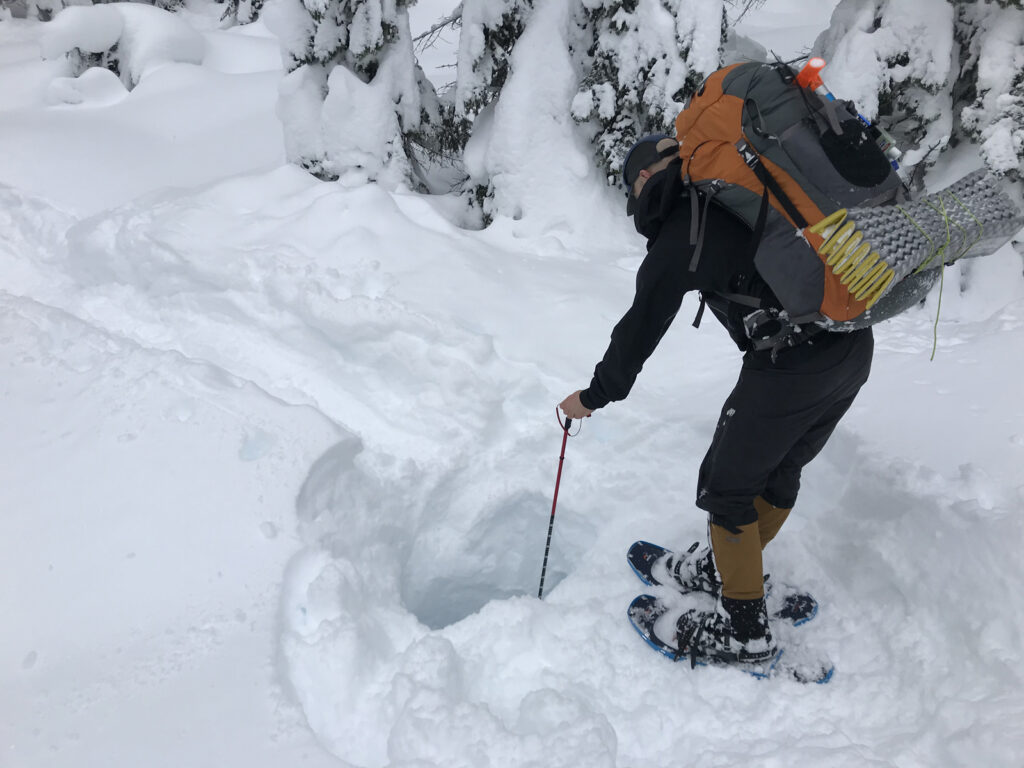
From late October to March a typical cold-weather backpacking trip in the Cascade Mountains can involve preparation for snow camping in temperatures ranging from 10 to 35º F with 5–25 mph winds. The gear shown here is for such a trip.
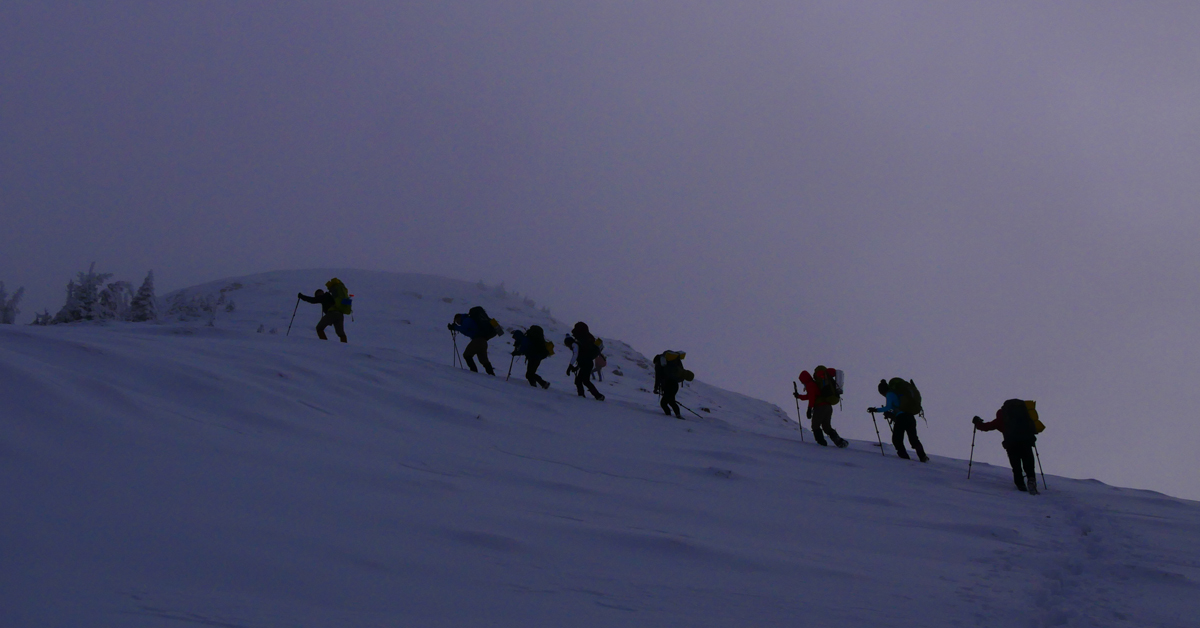
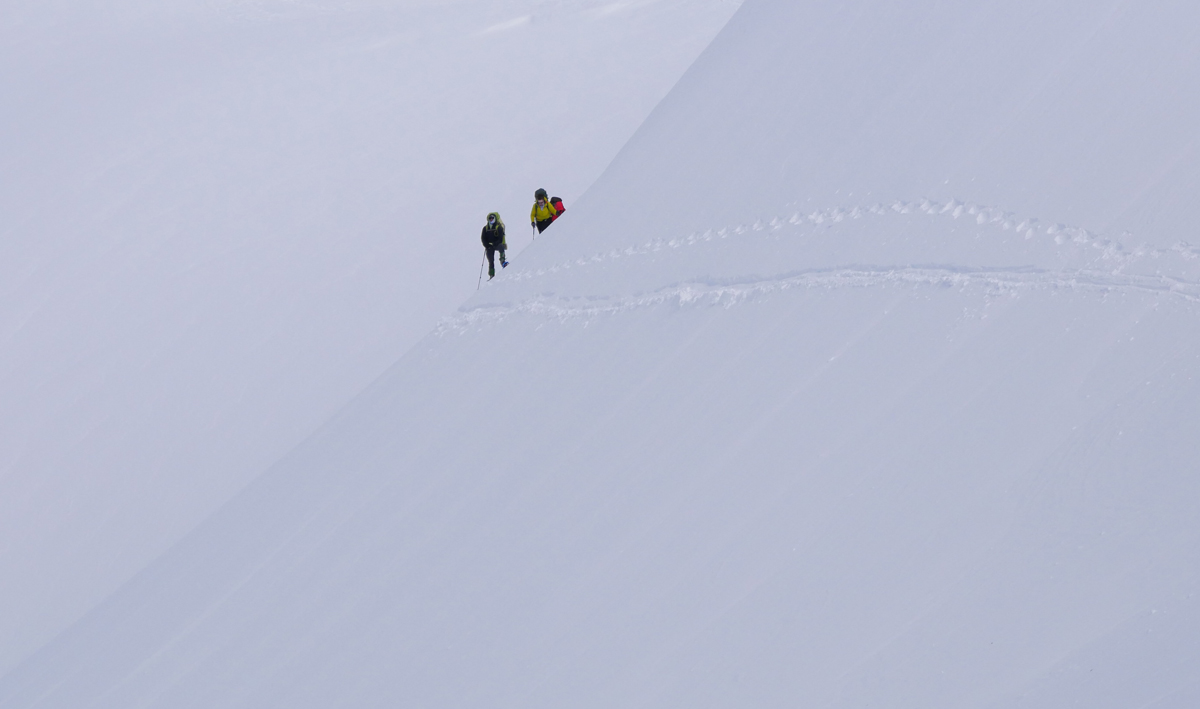
Categories
Booties Safety Tips Sock liners Winter backpacking Winter Boots Wool insoles

How to Keep Your Feet Warm in Winter

Truth 1: Circulation equals warmth.

Make sure your boots fit correctly. Not too loose or too tight. If your boots are too tight-blood circulation will be reduced causing your feet to become cold, especially when you are not moving. Overly-tight boots often occur when hikers use their three-season hiking boots with thicker wool socks or layer socks with sock liners.

Categories
Backpacking gear for snow Snowshoeing Snowshoes

Snowshoe tips

Use the right snowshoes for the terrain.

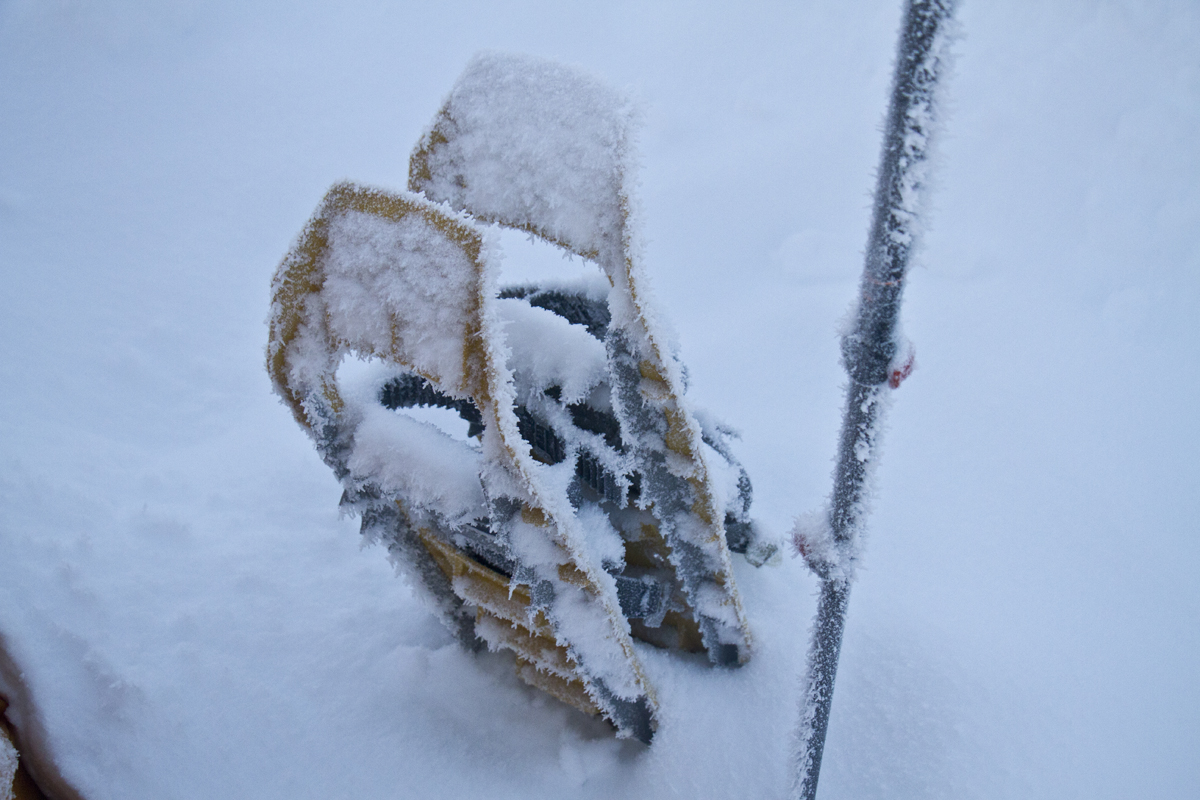
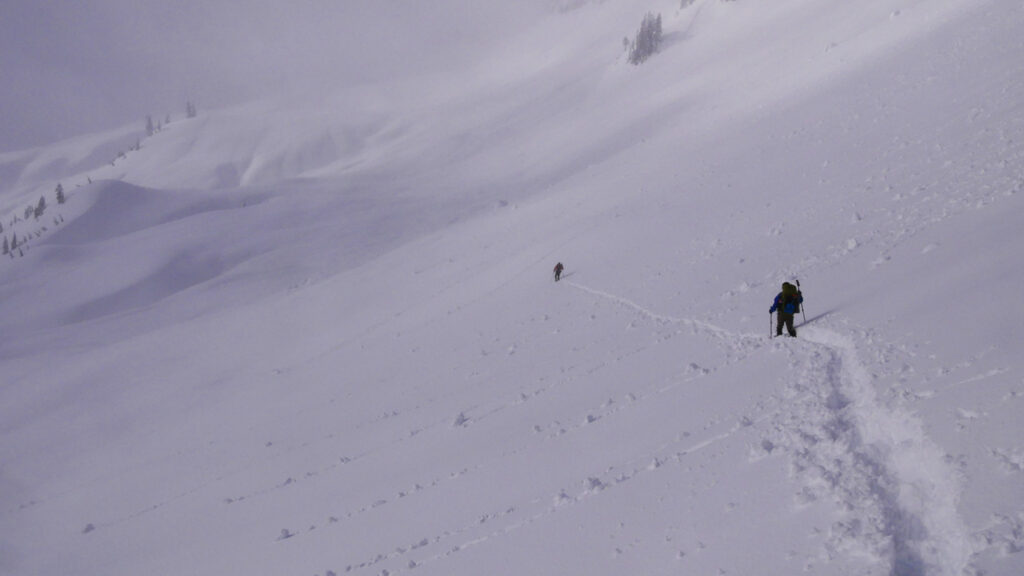
There are snowshoes for flat terrain, rolling terrain, and mountain terrain. Most of our trips here in the Pacific Northwest are in Alpine terrain or terrain with steep slopes. For this, snowshoes designed for mountain terrain provide the greatest safety and comfort.

How are mountain terrain snowshoes different?

The main purposes of snowshoes are flotation and traction. They keep you from sinking into the snow or sliding off the slope. The deeper your feet sink, the more difficult it is to more. The more you can float on the snow the better.

Flat terrain snowshoes serve that purpose but provide little traction on the underside to prevent slipping and sliding on slopes. This lack of traction allows you to go faster on flat terrain but it also means flat terrain snowshoes can perform like a dangerous high-speed sled on mountain slopes. Foam running snowshoes are not appropriate for our routes in the Cascade Mountains.

Rolling terrain snowshoes have more traction, but only mountain terrain snowshoes have the level of added traction needed plus pop-up heel lifts that give your calves a break on steep terrain. There are some flat terrain snowshoes that have heel lifts, so check the amount of traction. Do not rely solely on whether the snowshoes have pop-up heel lifts.

Categories
Backpacking Bear-proof canister Snow camping Ultra-light gear Winter backpacking Winter camping

Ultra-light Backpacking in Winter Conditions

Some Exceptions…

Most of my gear falls in the light to the ultra-light category. This is important especially in the winter because sleeping gear and warm clothes add to your pack weight. But I have a few not-so-ultra-light exceptions, some of which I’m going to discuss in this post. Foremost among them is my extra sleeping pad and some form of food protection, such as a bear canister or metal lunchbox.

Categories
Backpacking Snow camping Winter backpacking Winter camping

Backpacking in the Sublime Season

Solitude and Snow

With the right gear and knowledge (know the hazards), you can head out and experience the beauty of the wilderness without the crowds.

To stay cozy and safe, you’ll need to add some pounds to your pack, making your ultra-light strategies even more important. And, sometimes you’ll

Categories
Backpacking Snow camping Winter backpacking Winter camping

Winter Backpacking!

Things that make winter backpacking the best

Here are some reasons snow backpacking delivers a special and unique kind of backpacking bliss.

  • Spectacular snow scenery.
  • Solitude: There are fewer hikers in cold weather and fewer cars at the trailheads.
  • Low-impact: When the snow is deep (2–6 feet or more) you can set up your tent almost anywhere without impacting the meadows.
  • Fewer restrictions: Campsites and trails are buried deep under the snow. You can hike off-trail without damaging fragile vegetation. Areas that are restricted to permit holders are open in the winter and parts of the shoulder months of May and November.
  • No bugs: The winter cold suppresses mosquitoes, flies, and other annoying bugs.
  • Less sweat: The cool, usually dry air, helps minimize sweat.
  • Less trail dust and mud. The bottom of your tent rarely gets dirty and the footprint (ground cloth) isn’t even needed.
  • Bears are usually hibernating.
  • Snow is more comfortable. It’s easier to have a level, smooth, and stick-free surface for your sleeping area. It is also cleaner. No dirt or mud on the bottom of your tent.
  • Water is everywhere. You just have to melt it. In the winter there is no reason to carry a heavy load of water.
  • Bonus point: Glissading.

Very few hiking experiences can compare to traveling across pristine snow under a blue sky.

Before you head out, be sure to read my short post about the dangers of winter backpacking.

Let me know if you have any questions or suggestions. I’ll be updating this post periodically for correction, etc.

Also, please don’t forget to subscribe to my blog and leave comments below.

Categories
Avalanche dangers Snow dangers Winter backpacking Winter camping

Winter Backpacking Dangers

A few things that make winter backpacking dangerous

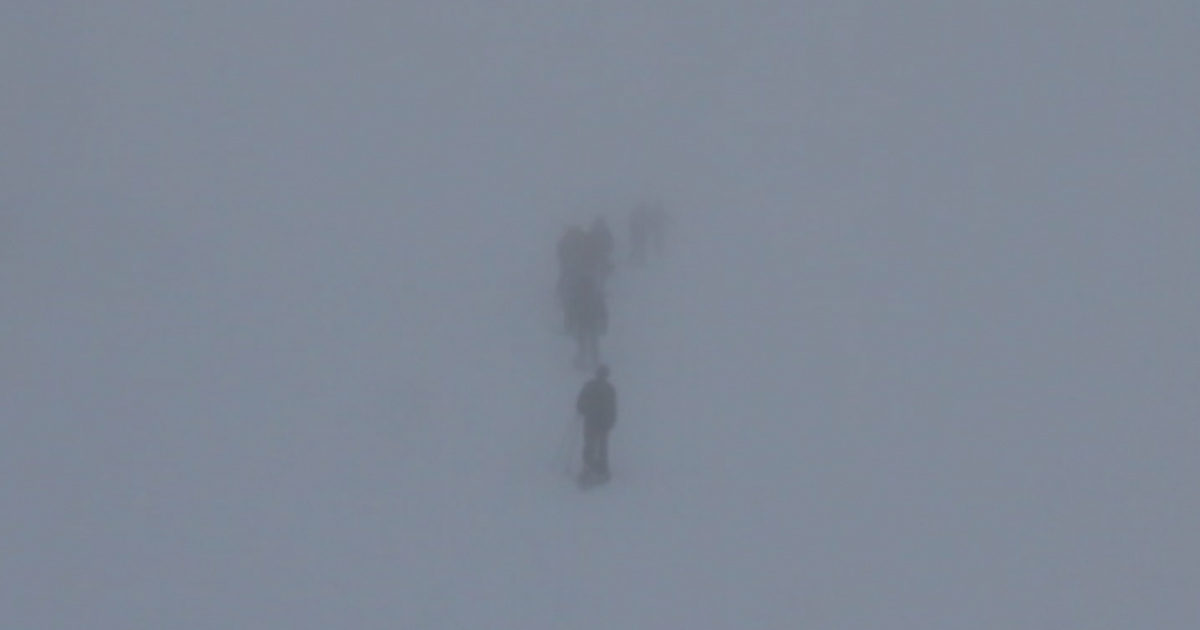
Snow camping and winter backpacking are great ways to experience the wilderness. In fact, nothing is as beautiful and enchanting as the wilderness in winter. But if you are new to the idea, here are a few reasons you shouldn’t just head out alone or unprepared. Be aware of the risks and take appropriate precautions. Below is a short beginner’s list of basic hazards and concerns that every winter backpacker should know.

  • Avalanches. Learn about avalanche dangers and then always check the avalanche forecast in your area before heading out. This is not something that can be fully learned in an afternoon or even in a few days of training.
avalanche danger
It takes time to learn about avalanche dangers, avi-gear, and precautions to take.
  • Snow conceals lethal dangers such as tree wells, rapidly moving streams, and deep crevasses that you can fall in, as well as heavy cornices that can collapse below you or bury you.
hidden dangers in the snow
A snowshoer uses an 8ft avalanche probe to search for the bottom of a hole in the snow. Moments earlier he suddenly found himself in this hole. He had fallen through the snow after several other hikers crossed the same spot with no trouble. Fortunately, he was able to suspend himself with his arms and gradually gain enough traction on the sides of the hole to force himself out. The snow had concealed a stream. The possibility of being washed away under deep snow in a cold stream is not something one wants to contemplate.
  • Winter weather—cold temperatures, reflected UV light, and wind conditions can create special hazards that require specific types of gear. In cold and snowy conditions you are at greater risk of hypothermia, frostbite, snow blindness, and snow immersion suffocation.
  • Navigation is more challenging. Trails, trail signs, and familiar landmarks are covered in snow increasing the risks of getting lost. Snow and clouds can create whiteouts obscuring directions.
winter navigation challenges
You can’t always count on the forecast to deliver on promises of clear weather. The mountains have their own ways of generating unexpected conditions. Your earlier footsteps can be quickly erased.
  • Help can be a long time coming. Depending on where you are, there are fewer people in the wilderness to find you or help you if something goes wrong. There is often no phone reception and even if you carry an emergency device a mountain rescue can take anywhere from 6 hours to several days depending on circumstances, location, and weather conditions.

Be sure to read my beginner’s safety tips list too.

Let me know if you have any questions or suggestions. I’ll be updating this post periodically.

Also, don’t forget to subscribe to my blog and leave comments below.

Categories
Backpacking Safety Tips Snow camping Snowshoeing Winter backpacking Winter Backpacking Safety Winter camping

Winter Backpacking Safety

A few safety tips

This is a concise list of safety tips for beginners who want to start winter backpacking.

  1. Avoid traveling alone. Hike in a group when possible and keep in eyesight of each other. If you think you may get separated, consider using walkie-talkies.
  2. Learn about snow. Start with short snowshoe day-hikes. Learn about the seasonal differences in snow conditions, from deep early season fresh snow to late-season consolidated snow. Learn how snow changes not just over the course of the season but of the day and how these changes affect travel speeds and gear requirements. Get to know which conditions require micro-spikes, crampons, snowshoes, and ice axes. learn about common dangers, such as avalanches, tree well, cornices, and snow bridges. Learn how to layer clothing and what levels of insulation are needed for different temperature ranges. Being too hot—overheating and sweating—or being too cold can both lead to hypothermia.
  3. Give greater attention to trail navigation. Know how to orient a map, use a compass, and spot reliable natural markers. Consider bringing a GPS, but don’t be reliant on electronic devices or batteries which may fail, especially in cold weather. Don’t depend on clear visibility, or expect exposed trails, or footprints in the snow for directions. Both wind and fresh snowfall can obscure your tracks quickly. Learn more about trip planning here: Trip Planning.
  4. Carry appropriate gear suited for the conditions and weather. Make sure you have the appropriate type of snowshoes for the terrain, the necessary sleeping bag and sleeping pad ratings, a tent that sheds snow, etc. Bring essentials such as first aid, headlamp, extra food and water, rain gear, etc. Wear a helmet and carry an ice ax when traveling on steep snow-covered slopes. Have a gear checklist and do a visual inspection before leaving home. Avoid cotton clothing because it doesn’t wick moisture away from your skin making it harder for your body to retain warmth. Always be prepared for conditions colder than anticipated. It is good to have a sleeping bag that is 10–20 degrees warmer than what you expect. If you’re just out for a day hike, carry emergency shelter in your day pack.
  5. Expect to get wet and be prepared to deal with it if it happens. Even though it is winter, you will likely sweat a lot while hiking. Always be able to change into dry clothing. Snowmelt can cause your boots and gloves to get wet. Wear gaiters to reduce snowmelt getting into your boots. Bring extra socks and gloves to replace wet ones. Carry rain gear even on clear days because the snow melting in the trees above can create rain showers in the forest that quickly soak your pack and clothing. Protect your sleeping bag, base layers, down jackets, and extra clothing with dry sacks inside your backpack.
  6. Attend avalanche classes. Learn how to identify risks. There are often free classes available, such as those hosted by REI.
  7. Check weather and avalanche forecasts before leaving. If things look worse than anticipated, know when to turn around.
  8. Carry avalanche safety gear. Bring a transceiver/beacon, probe, and shovel and know how to use this gear when traveling in areas with avalanche risks. Practice beacon recovery with friends.
  9. Be prepared for wind. Check the wind forecast and carry wind protection, such as rain pants and jacket, goggles, balaclava, and extra gloves. Learn more about winter winds here: Preparing for Winter Winds.
  10. Bring UV protection. From January to July, UV reflection from the snow intensifies and can cause severe sunburns and snow blindness. Bring category 4 sunglasses (Glacier Glasses) to protect your eyes. Bring sunscreen and be able to cover exposed skin. Even the bottom of your nose and lips can get blistered from UV exposure on the snow.
  11. Learn how to avoid common snow dangers such as tree wells, snow bridges, cornices, and crevasses.
  12. Carry a stove and multiple fire-starting devices. Don’t rely on fires for warmth. Collecting wood and starting a fire in deep snow is difficult and often counter-productive because you expend valuable time and energy and often get wet in the process. It is also environmentally unsound in high elevation alpine areas. A stove is a faster and far more reliable way to generate warmth, resupply water, and heat food. Tents, sleeping bags, and jackets don’t create warmth, they preserve it. Your warmth comes from within your own body. The first rule of staying warm is to not lose body heat. While hiking you will wear fewer layers of clothing to avoid sweating, but once you stop moving you must layer up quickly to avoid core heat loss from your body. Once you lose warmth it is hard to recover it. Avoid staying in the wind without wind protection and sufficient layers. Being able to use a stove to create hot water bottles and heat food is important to generating, sustaining, and recovering warmth. 
  13. Wear a helmet. If you’re crossing snow covered slopes or icey rocks where you can slip or fall and hit your head against a rock or tree, then wear a climbing helmet.