The Basic Concept of the Ten Essentials
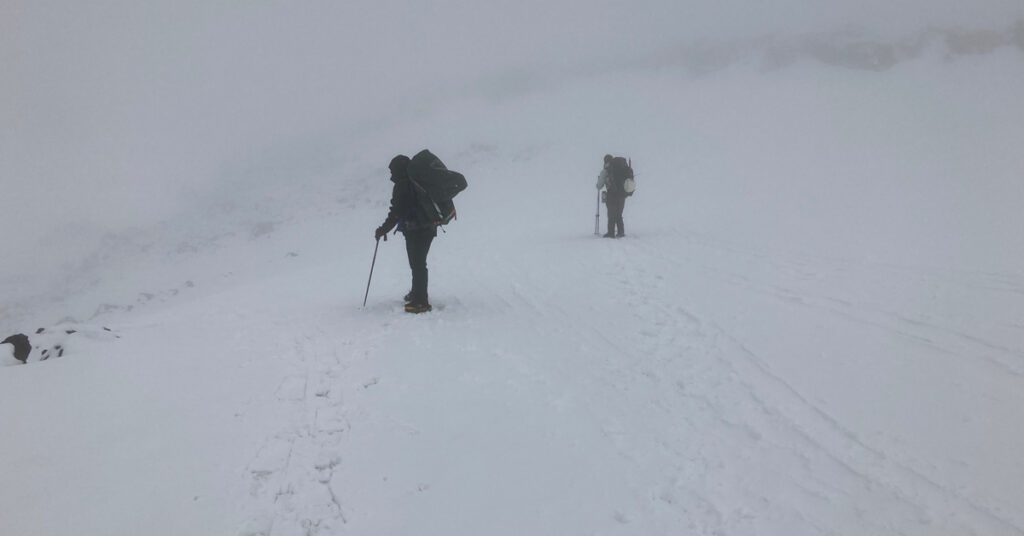
The “ten essentials” is a common way of referring to items that one should always carry in the wilderness for an emergency. These are items that will help you cope with difficulties that could turn into life-threatening situations. For example, you can carry a compass and map to avoid getting lost, but also a headlamp, so you are able to see the compass and map if you require navigation at night or an altimeter if you are in a whiteout.
The concept of ten essentials originates with the Mountaineers and in an updated form can still be found in the popular book Mountaineering: The Freedom of the Hills, where it first appeared in 1974. The ten essentials was never a complete backpacking gear list, but rather a set of safety gear that was carried on all adventures in addition to whatever hiking and climbing gear was necessary for a particular route. The Forest Service, the Scouts, various recreational equipment companies, such as REI, and many hikers and bloggers provide ten essentials lists online today.
The fact that most lists include emergency shelter, rather than a tent, suggests that the ten essentials are mostly formulated for day hikes or day climbs with the view that there may be an emergency where one was unable to return and needed to stay overnight or longer. It is day hikers who are most likely to not know about or carry the ten essentials and who are more likely to find themselves in need of rescue. These lists are also formulated primarily for 3-season recreation and adventures. For those reasons, the “ten essentials” have limitations that are worth understanding.
The Common Ten Essentials
There are many lists of the ten essentials and some variations can be observed in them, but let’s start with the most common and basic list of ten:
- Firestarter (lighter, matches, and or flint)
- Water (water + filter and/or Iodine water purification tablets)
- Food (more than expected)
- Knife or multi-tool
- First Aid
- Insulation (extra clothing layers)
- Illumination (headlamp or flashlight)
- UV protection (hat, sunscreen, sunglasses)
- Shelter (rain jacket and/or emergency bivy/tarp)
- Navigation (map, compass)
The ten essentials can be grouped into three categories:
1. Find your way
- Navigation (map, compass)
- Illumination (headlamp or flashlight)
2. Protect Yourself
- Food (more than expected)
- Water (water + filter and/or Iodine water purification tablets)
- Insulation (extra clothing layers)
- Illumination (headlamp or flashlight)
- UV protection (hat, sunscreen, sunglasses)
- Climbing helmet (recommended for all trips involving ice, snow, and slopes)
3. Emergencies
- Shelter (rain jacket and/or emergency bivy/tarp)
- Firestarter (lighter, matches, and or flint)
- Knife or multi-tool
- First Aid
The Fifteen Essentials for Winter Backpacking
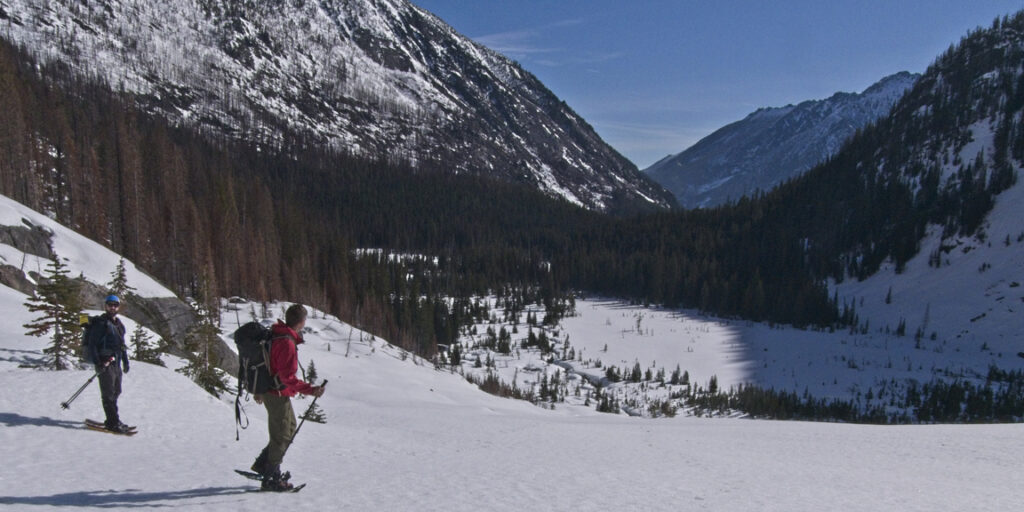
Many of the items found on traditional ten essentials lists need revising for winter conditions, with an addition of five more essentials or categories. Packing your backpack with the typical ten essentials and a warmer sleeping bag is not sufficient. For winter, it is fifteen essentials or categories. It is not just that you need to add more items to the ten essentials, but that you need to modify the original ten as well.
The “fifteen essentials” as I’m calling it here, is not a complete winter gear list. It is merely a modification and expansion of the standard ten essentials for winter backpacking purposes, meaning winter weather conditions, snow and ice travel, and overnight snow camping.
- Firestarter (more than one method and they must work in high elevation cold weather)
- lighter
- waterproof matches, and or
- flint
2. Cooking system (for melting snow to refill your water supply. Water filters don’t work for ice and snow.)
- pot with lid,
- stove, and
- fuel
3. Water storage (sturdy heat-resistant bottles rather than bladders)
4. Food (more than expected)
5. Repair kit (to fix tent poles, stoves, air mattresses, and snowshoes)
6. First Aid (+large bandages for winter-related injuries)
7. Insulation (extra clothing layers)
8. Illumination (headlamp and extra batteries)
9. UV protection (especially skin and eye protection for reflected UV on snowfields)
- hat,
- sunscreen,
- category 4 glacier glasses
10. Wind protection
- rain jacket and rain pants (or waterproof “hard-shell” clothing)
- gloves,
- balaclava,
- ski goggles)
11. Shelter
4-season tent or 3-season tent capable of resisting wind and snow conditions, snow stakes, extra utility cord.
12. Sleeping system
- mattress + solid pad for a minimum of 4 R-value,
- sleeping bag,
- optional hot water bottle (comfort item, but also a first-aid item for treating hypothermia)
13. Navigation
- map,
- compass,
- altimeter
- phone (You cannot rely on a phone, but if you carry a phone, you might as well have a GPS App with wilderness maps and charger.)
14. Traction (on ice and/or snow) and floatation (on snow) as well as appropriate footwear:
- microspikes,
- crampons,
- snowshoes (sized to support your weight + pack weight)
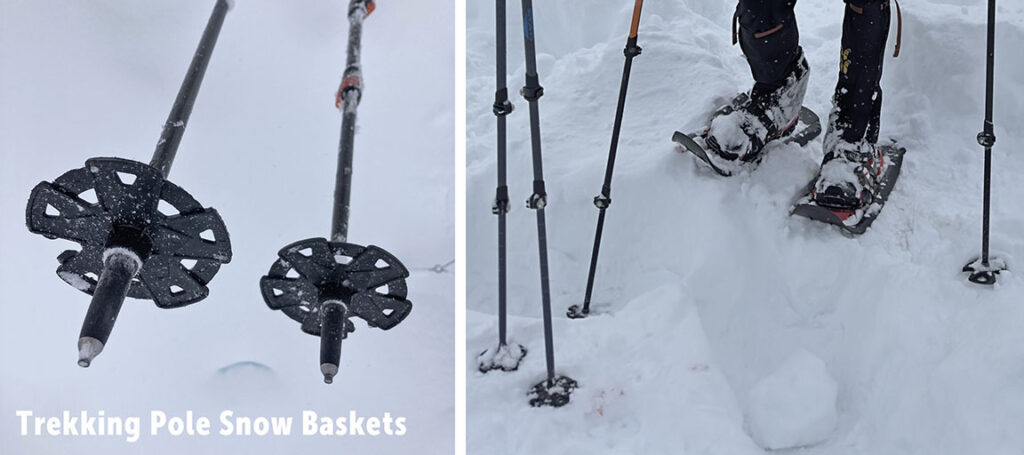
- trekking poles with snow baskets (important for balance)
- ice ax (Climbing helmet recommended. If you can fall, you can hit your head. )
- Climbing helmet (recommended for all trips involving ice, snow, and slopes)
15. Avalanche gear
- transceiver (sometimes the words “beacon” and “transceiver” are used interchangeably, but technically a “beacon” only sends a signal and a “transceiver” both sends and receives signals.)
- probe,
- snow shovel
A Closer Look
Here’s a brief justification for each modification and addition to the standard list:
- Firestarter
The ability to light a stove is critical for hydration, so you must have a reliable firestarter. I have tried various refillable lighters and all have failed. Waterproof matches tend to fail in Pacific Northwest winter conditions. The scratch pads disintegrate and the matches turn to a soft or brittle paste. In cold high-elevation weather, the most reliable lighters are the simple Bic lighters (the solid ones, not the clear ones). Simply dropping a lighter in the snow can prevent it from working. A small flint is the best backup and most reliable tool. Using a flint requires practice. It can be hard to strike a flint close enough to the fuel to ignite a liquid-fuel stove.
2. Cooking system
A stove or cooking system provides water, heats food, and can provide warmth in the form of hot water bottles. You may ask, why not build a fire from available wood? The wood is often many feet under the snow, leaving only snow-encased trees that are dangerous to approach. Finding wood requires expending a lot of energy and getting wet in the process, which is unsafe. Outside of an emergency, fires are also prohibited in Wilderness areas at high elevations. The best practice is to take a stove. It needs to be a stove that will function in cold and high elevations, and most importantly, in windy conditions. Because fuel is limited, the more efficient the stove is the better. This means the stove needs to have a wind-resistant design or be designed for use with a windscreen. You also need a pot with a secure lid to hold in the heat. More about stoves here: Will a canister stove work for winter backpacking?
3. Water storage
Pack bladders will freeze and are nearly impossible to unfreeze. If you can find flowing water the cartridges in water filters will freeze after use and that will danger the cartridges. For these reasons, it is best to boil water or melt snow with a stove. Snow is often the only available water source. Store water in sturdy leakproof containers such as Nalgene bottles. Metal flasks will prevent water from freezing throughout the day but do not work well as hot-water bottles. This means Nalgenes bottles and metal flasks are a good combination. For more on water management, see How to Keep Your Water from Freezing.
4. Food
I carry both food to heat and cold food as well. The cold food is an extra backup if cooking isn’t an option. You may not always be able to heat food when you are hungry, so it is good to have some food that can be eaten as is. I usually take fresh food to heat (not dehydrated) for short trips as well as light packaged meals as backups.
5. Repair kit
Pack a repair kit with the parts and tools necessary to fix a broken tent pole (your wind protection), maintain a stove (your water source), patch an air mattress (necessary for warmth at night), and fix snowshoes (necessary for travel). (Tools for stove maintenance refer to non-canister liquid-fuel stoves. There are no tools for fixing a canister stove.)
6. First Aid
In addition to standard first-aid supplies for blisters, cuts, and burns, carry a few large bandages for possible winter-related injuries, such as injuries from crampons or an ice ax. My first aid kit includes a cutting device such as a knife or scissors (in my case, I prefer lightweight scissors). Pack your first-aid kit not only for yourself but for others. The well-being of the group effects your own safety and enjoyment.
7. Insulation
In 3-season camping, you might carry just a light puffy jacket. For winter, carry a more insulated puffy coat, and include additional layers, such as a fleece or wool pullover. It is also advisable to take fresh baselayers for sleeping. The baselayers should only be used at night and not while hiking. This ensures that the layer is sweat-free and will provide warmth. The layer should be complete: socks, thermal bottoms, a long-sleeve thermal top, and a beanie. Your night baselayer clothing is also dry clothing for emergencies. Always store clothing in a waterproof or dry sack. For a detailed look at layering, see Layering for Winter Backpacking.
8. Illumination
A headlamp and extra batteries: Bring a headlamp suitable for Pacific Northwest wet conditions. Ideally, a IPX8 rating that allows the device to survive submerged in water for an extended period of time. It is also useful to have variable brightness levels and a red light mode for around camp so you do not shine a bright light into others faces or disturb hikers who are sleeping.
9. UV protection
Sunburn is no fun, so 3-season hikers will usually carry a hat, sunscreen, and maybe sunglasses. In snowy conditions, especially late winter, and early spring, the UV danger dramatically increases. The sun will reflect from the snow, burning any exposed flesh, even causing blisters on lips and sunburn on the bottom of your nose. Reflected snow can also cause snow blindness. Regular sunglasses are insufficient protection. Instead, you need category 4 glacier glasses (too dark for driving) or ski goggles. If it is warm, I also use a fishing shirt with a hoodie, a lightweight balaclava to protect my face, and glacier gloves. If your skin is UV sensitive, it is best to be able to cover all flesh.
10. Wind protection
3-season hikers generally don’t have to be too concerned about wind, but in the winter, wind protection is important. A regular hiking rain jacket with hood and rain pants works best. Gloves often get wet, so extra gloves and/or warm waterproof gloves are important. Mittens are the best protection and warmth, especially double layer expedition-level mittens. For high winds, you need a balaclava and ski goggles to protect your face. For more about wind protection see Preparing for Winter Winds.
11. Shelter
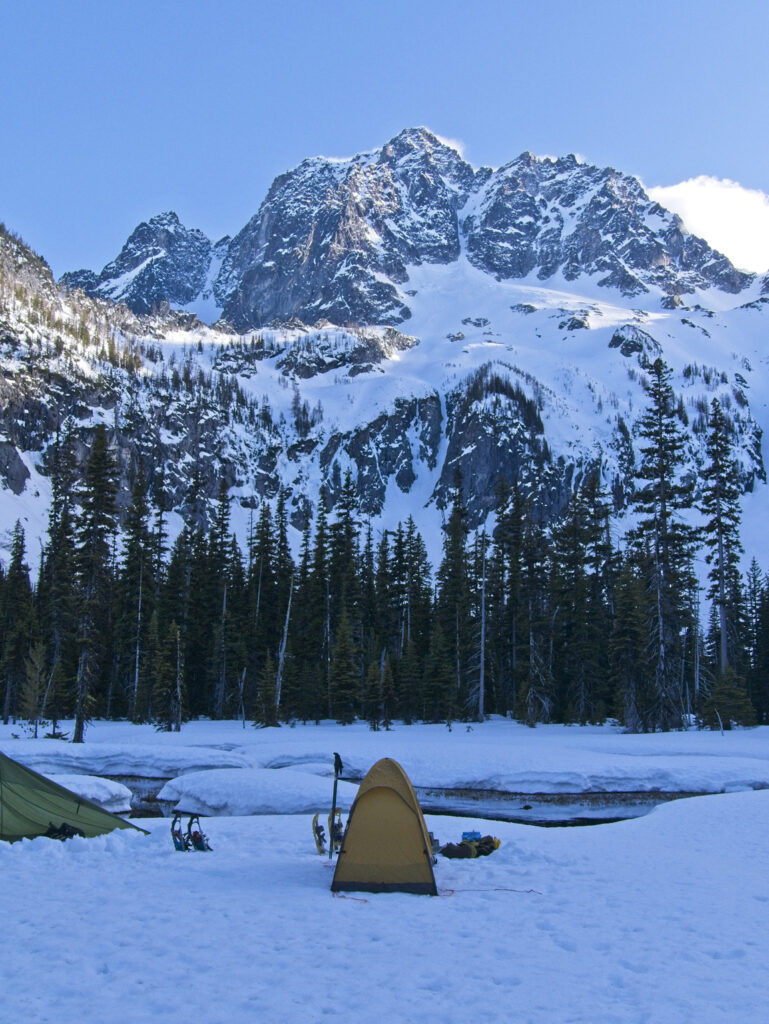
A free-standing 4-season tent is ideal, but many 3-season tents are capable of resisting wind and snow conditions too. Winds are stronger and more frequent in winter. For more about tents, see 3-Season vs. 4-Season Tents. To secure your tent, you will also want snow stakes and an extra utility cord. The main corner stake loops of both 3- and 4-season tents are not long enough for burying snow stakes. For more about staking tents in winter see How to stake a tent in snow without tying knots.
12. Sleeping system
3-season campers can often put a sleeping bag on the ground or over a low R-value pad. In the winter, the best practice is to bring one solid core pad and one air mattress. But whether you use two or one, you need a minimum of 4 R-value, 6+ is better. Otherwise, your sleeping bag, no matter how good it is, will not keep you warm when sleeping on snow or ice. Having a solid core pad provides some backup in case the air mattress fails. Older model Therm-a-Rest NeoAir Xtherm Sleeping Pads are 6.9 R-value and the new version (2024) is 7.3 R-value. The Therm-a-Rest RidgeRest Solite Sleeping Pad is 2.1 R-value. For more about sleeping systems, see Winter Sleeping Bags.
13. Navigation
3-season hikers will carry a topographical wilderness map and compass, but in the winter an altimeter is helpful in whiteout conditions. There are many watches that come equipped with altimeters and they do not have to be expensive. You cannot rely on a phone, but if you carry a phone, you might as well have a GPS App with wilderness maps, such as AllTrails or Gaia.
14. Traction & Flotation
Depending on conditions, you will need extra traction, such as microspikes or crampons. For deep fresh snow, snowshoes are essential for flotation. The size of the snowshoe needs to be sufficient to support your body weight, plus your pack weight. For basic information concerning picking appropriate snowshoes see Snowshoe tips.
Standard trekking poles need to be fitted with large snow baskets to prevent the poles from sinking too far into the snow (about 4-inch disks for deep fresh snow and 2.5 for firm consolidated snow). Snow baskets are important for balance when you are carrying a pack in unstable snow. Replace the larger snow baskets with smaller ones when the snow becomes hard in the Spring and Summer because they can prevent the trekking poles from gripping the snow on slopes.
In some terrain, you may also need an ice ax. Because of the risks of falling and head injuries, a helmet is important.
15. Avalanche gear
Avalanche danger can extend from fall to summer. To help manage the risks, everyone needs to wear a transceiver under their outermost layer and carry a probe and shovel in their backpack. Check the batteries before leaving. Turn on the transceiver at the trailhead, test it, and leave it on in send mode until the end of the trip. The batteries will last 200–300 hours. Use only Alkaline batteries. Even if you know nothing about avalanche resue, wearing a transceiver may enable someone to save your life.
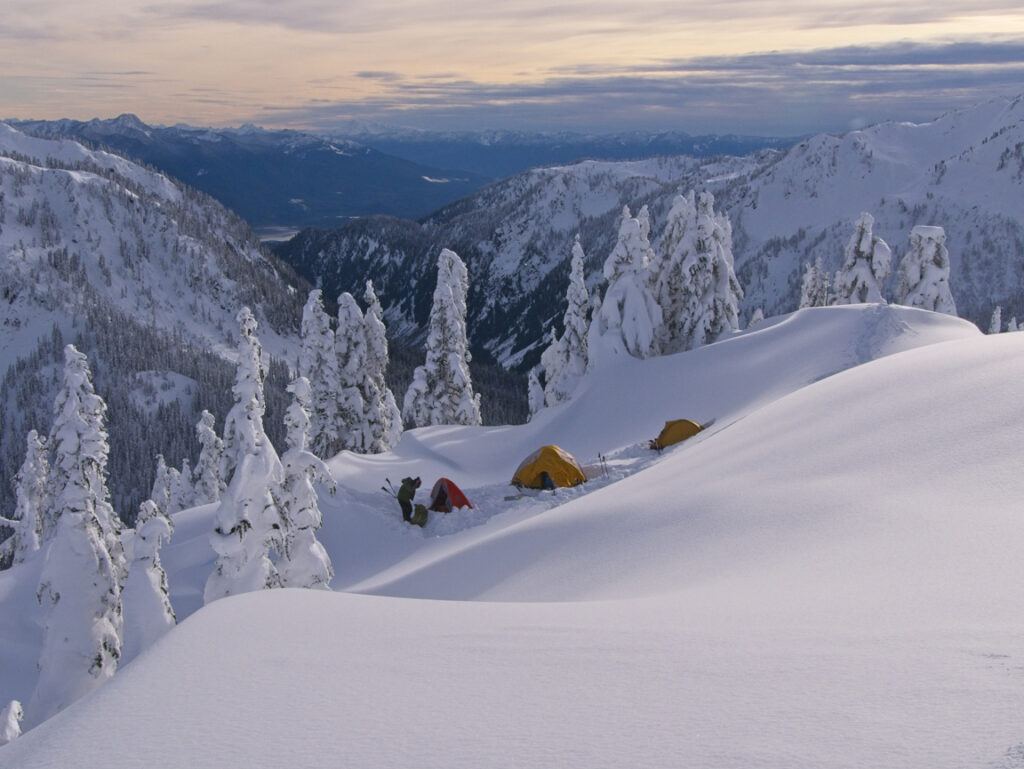
Sometimes not all the items that appear on this winter list are required. Snow travel on some routes, for example, may not require an ice ax or snowshoes. Careful planning takes into consideration snow and avalanche conditions, terrain, and weather forecasts. There are some routes where avalanche gear is not needed and some routes that are too unsafe in winter for any amount of preparation. If you lack experience with snow travel, plan short trips and carry as many essentials as you can. See Winter Trip Planning for more. Never travel alone in winter.
In some situations, snowshoes are essential to floatation and movement, and it is worth keeping in mind that fresh snow, if too deep, will make traveling long distances impossible even in snowshoes. That is, heavy snowfall can prevent your ability to return to the trailhead.
Safety is your responsibility
Having the essential gear is only part of what is required. A person must also have some basic trip planning knowledge and skills to use a compass, map, avalanche gear, first-aid kit, and travel on snow. Every hiker must be self-sufficient. You must be fit enough to hike the distance and elevation-gain in the event description, carry all the required gear and know how to use it, and be mentally capable of solo camping if necessary.
The Ten Essentials and Team Building
While some gear can be intentionally omitted based on the weather and snow conditions, knowledge of and respect for the essentials is one way of measuring a hiker’s competence, judgment, and consideration for less experienced members of the team. Some hikers for example, never get blisters, but they still pack Moleskin or Leukotape to help out other hikers who may get blisters.
Anyone who decides to go mountain climbing, backcountry skiing, or winter backpacking is going to be a bit of a risk-taker. There is a difference between risk-taking and being reckless. Some people have a deep love of nature, the mountains, winter landscapes, and will plan their adventures cautiously, others are in it for the adrenaline and enjoy placing themselves and others in danger for a laugh and a high-five. Be the former and not the latter.
The best team consists of members who already know the ten essentials and who are responsible enough to carry them. If each person has already reached that minimum bar and is willing to make the necessary adjustments for winter travel, it is less likely they will be adding unnecessary risks.
Have questions? Please leave comments below.
