Headlamps are one of the ten essentials. The type of headlamp you use and how you use it will affect your safety and the safety of others in your winter backpacking team. Hikers often select headlamps based on weight rather than waterproofness and functionality. Be careful not to sacrifice safety.
For winter backpacking purposes a headlamp should provide a range of specific functionalities (discussed below) and the user should follow practices that ensure the headlamp is not lost or inoperable when it is most needed.
Basic Headlamp Skills
Learn to operate your headlamp without looking at it.
- Test your headlamp and familiarize yourself with its features and settings before your hike.
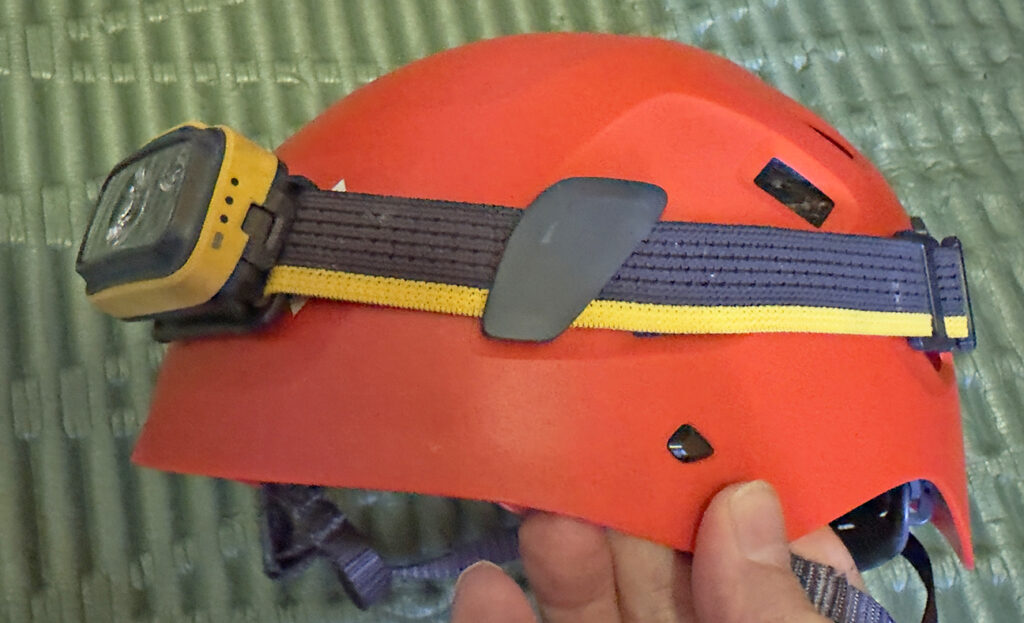
- Attach your headlamp to your helmet using the four external headlamp clips.
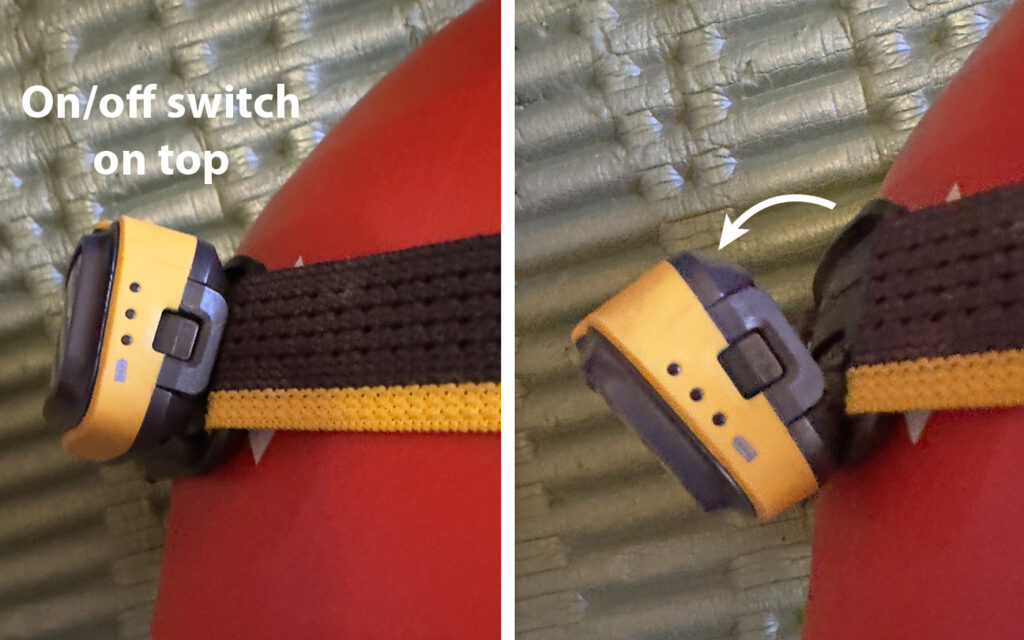
- Ensure the on/off button is positioned facing up.
- With the helmet on your head, reach up and activate the headlamp, then switch through the variable brightness levels, red mode, and strobe mode, and adjust the up-and-down angle.
Ideally, you can teach yourself how to operate your headlamp while it is out of view on your head and when you are in difficult terrain and weather conditions.
Headlamp basics
- Easy access: Store your headlamp where you can access it without removing your pack. Darkness can overtake you gradually and you may need the headlamp in difficult terrain where removing your pack is hazardous.
- Wear the headlamp on a climbing helmet. Be aware that climbing helmets have four clips that attach to the headlamp strap to hold the headlamp on securely. Position the headlamp on the helmet with the on/off button at the top (the button faces up) because this is the position that allows you to adjust the angle of the headlamp down. Putting your headlamp on your helmet correctly will help prevent the headlamp from falling off and getting lost in the dark.
- Adjusting light modes: Use a headlamp with variable brightness levels: In some situations, you may need as much brightness as possible to search for camp or evaluate a large area. In other situations, such as when you are setting up your tent or cooking at camp, you may need much less light. Variable brightness levels allow you to adjust your light to your needs and conserve your battery run time.
- Use the Red light mode around camp: Red light preserves night vision better than white light. The red light mode allows you to use your headlamp around camp without causing a glare hazard and discomfort to the other people in the camp. Remember that when you attach a headlamp to your head and you look toward another hiker, you are shining a light into their eyes causing discomfort and disrupting their eyesight. Switch to red mode around camp and when hikers are approaching in your direction. Red light is less disruptive to your eye’s ability to see in low light, making it ideal for tasks like reading maps, adjusting equipment, or working in the dark without immediately needing to re-acclimatize to the darkness. Red light mode is less likely to startle nocturnal wildlife. Red light attracts fewer bugs. Red light is the mode you usually need most often and it burns less battery energy.
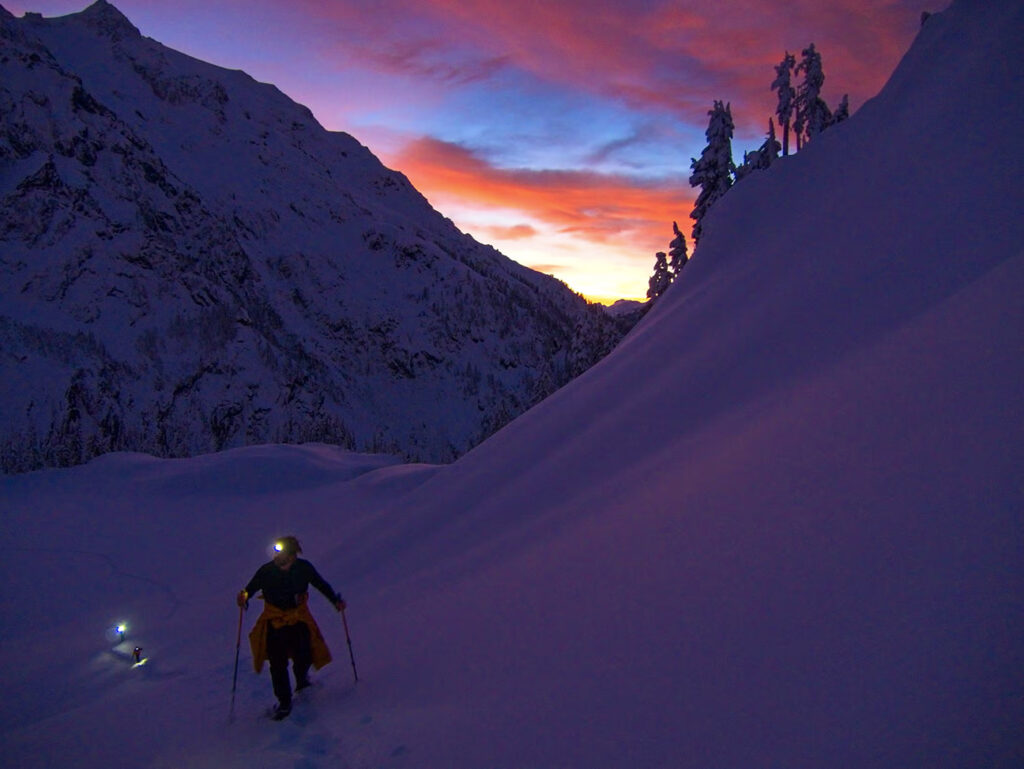
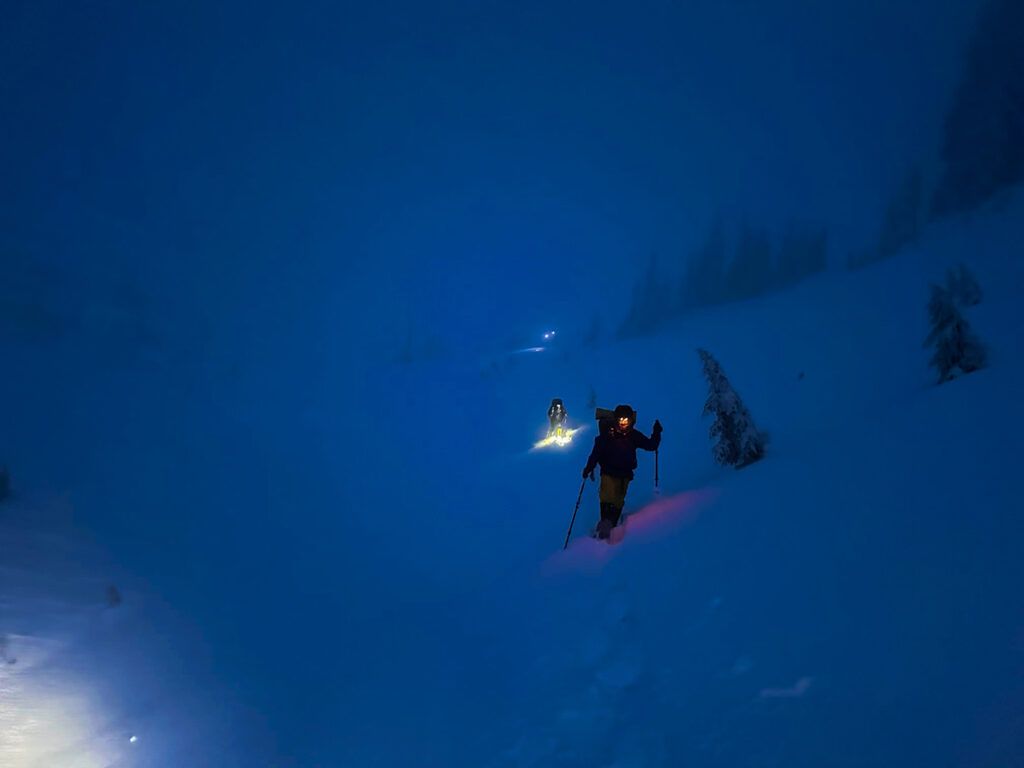
- Difficult low-light conditions: Whiteouts in the dark, snowfall at night, and cloudy night-time conditions: Keep your light on in difficult conditions and minimize the distance between hikers unless you are in avalanche terrain.
- Head counts in difficult conditions: Often times it is not necessary for everyone to use their headlamp because the person with a headlamp in front of the group is providing enough illumination for the person behind to follow. However, in difficult conditions with low visibility, the best way for group organizers to do a head count is for them to be able to see the headlamps behind them. If you don’t need your headlamp while hiking in a group at night, switch to red mode so that you can be counted. To make an accurate head count, be aware that in nighttime whiteouts and snowfall conditions, a distant headlamp creates two points of light—one is the headlamp and the other is the headlamp light illuminating the snow in front of the hiker. Only count the headlamp.
- Emergencies: Red light can be seen from a distance, making it an effective way to attract attention during rescue or survival situations. The red-mode strobe light function can be used to signal that you are experiencing difficulties. It can also be used in rescue situations. Imagine you need rescue, but you know you will likely fall asleep or pass out from exhaustion. You can turn on the strobe mode to help your team members and rescuers find you even when you are not awake. Your headlamp batteries will last longer in strobe mode than in continuous mode.

Headlamp backup
Winter nights are longer and headlamps can fail. Having a backup can be helpful, especially on trips when arriving at camp in the dark is more likely or that involves early morning summiting. An extra headlamp will typically add about 2.8 oz to your pack.
Headlamp storage
- In your pack: Always store your headlamp in a consistent place while hiking, such as the right-hand hip-belt pocket or pocket on the front strap of the pack. Ideally, you should be able to access your headlamp without removing your pack. Keep your gear organized so that you are not struggling to find things.
- At camp: When you arrive at camp and start to unpack, put your headlamp on or put it in your jacket or pants pocket. This prevents you from leaving camp without it or having to return to your tent later in the evening to look for your headlamp in the dark.
- In your tent, be sure to place the headlamp in a place where you can find and reach it at night, such as in your tent or sleeping bag pocket.
Accidentally turning on the headlamp: Headlamps can get turned on accidentally in your pack draining out the battery life while you are hiking. To prevent this, you can remove the batteries. If you use this method, put the batteries and the headlamp in the same plastic bag so that you can find both at the same time. Store them both in an easy-to-access pocket.
Battery checks
- Always carry extra batteries: With 200+ hours of run time, you may not understand the need for extra batteries for short 1–2 night trips. However, make a practice of carrying extra batteries in case your batteries have less charge than expected or someone else in the group needs them. Many headlamps can use AAA alkaline batteries or lithium-ion batteries. These batteries also work in avalanche transceivers. Avalanche transceivers are designed to primarily utilize alkaline batteries rather than lithium-ion batteries. This is because the gradual energy drain of alkaline batteries is a more reliable battery life indication. Your extra AAA batteries will work in either device.
- Always check battery life before leaving home: Many headlamps have a battery-life indication light (series of blue lights on Black Diamond headlamps). You can also use a digital universal battery tester to test batteries at home. The testing devices are small and cost around $5.
- Battery Storage: Always store extra batteries in a sealed plastic bag.
- Changing batteries: Take care to change batteries in a way that protects the inside of the headlamp from moisture.
Selecting a Headlamp
Prioritize safety when choosing a headlamp. Look for these features:
Battery Run Times and Variable Brightness Levels
Examples of Black Diamond run times:
- Cosmo 350: High: 3 hours; medium: 6 hours; low: 200 hours ($34)*
- Storm 500: High: 7 hours; medium: 19 hours; low: 350 hours ($74)*
- Distance LT 1100: High: 4.25 hours; medium: 14 hours; low: 120 hours ($119)
- Distance 1500: High: 1.7 hours; medium: 6 hours; low: 40 hours ($199)
The brightness level will determine battery life. Using the red light mode as much as possible will extend battery life. In this 2025 list of Black Diamond headlamps, the high-beam options only last 1.7–7 hours, while the low-beam (red mode) lasts 40–350 hours depending on the headlamp. For battery longevity and wilderness use, the Cosmo 350 and Storm 500 provide longer run times.
- Brightness: 200+ Lumens is adequate for hiking trips.
- Average Run Time: Look for 200+ hours. Run times can vary greatly. Brighter lamps preferred by runners often have significantly shorter run times.
- Variable brightness levels: Variable brightness levels allow you to adjust your light to your needs and conserve your battery run time.
- Red light mode: Red light preserves night vision better than white light and is ideal for tasks like reading maps, adjusting equipment, or working in the dark without immediately needing to re-acclimatize to the darkness.
- Strobe mode: Good for signaling that you are in difficulty and need help.
- Waterproofness: Look for an IPX8 rating. In the Pacific Northwest, it is common for gear to get soaked. You need a headlamp that can remain waterproof. Headlamps that are tested for waterproofness are given an IP rating (Ingress Protection). The IP water resistance rating scale indicates a device’s protection against water ingress, with higher numbers signifying greater resistance. IPX0 signifies no protection, IPX4 means protection against splashing water, and IPX7 means protection against temporary immersion. Ideally, you want IPX8 which signifies protection against continuous immersion (meaning, it will operate at least 1 meter underwater for 30 minutes). This the best you will find and this rating may sound impressive but it is not a guarantee that the headlamp will operate in a prolonged downpour. The “X” in IPX8 means the device has not been tested for dust protection.
- Product color: Headlamps often come in different colors. Bright colors such as red and yellow are easier to find if you drop your headlamp in the snow.
- Reliability: Brands such as Black Diamond and Petzl have good reputations but any manufactured product can be defective or when used in the wilderness setting or used often, it can become damaged and fail. Turn on the lamp and shake it. If the light goes out it is probably defective and it should be returned or replaced. If the light is inconsistent check the battery connections. Sometimes it is possible to adjust the connections to increase contact with the battery terminals.
Have any questions or comments?
In the comment section below, let us know your thoughts. Your comments and questions are welcomed.