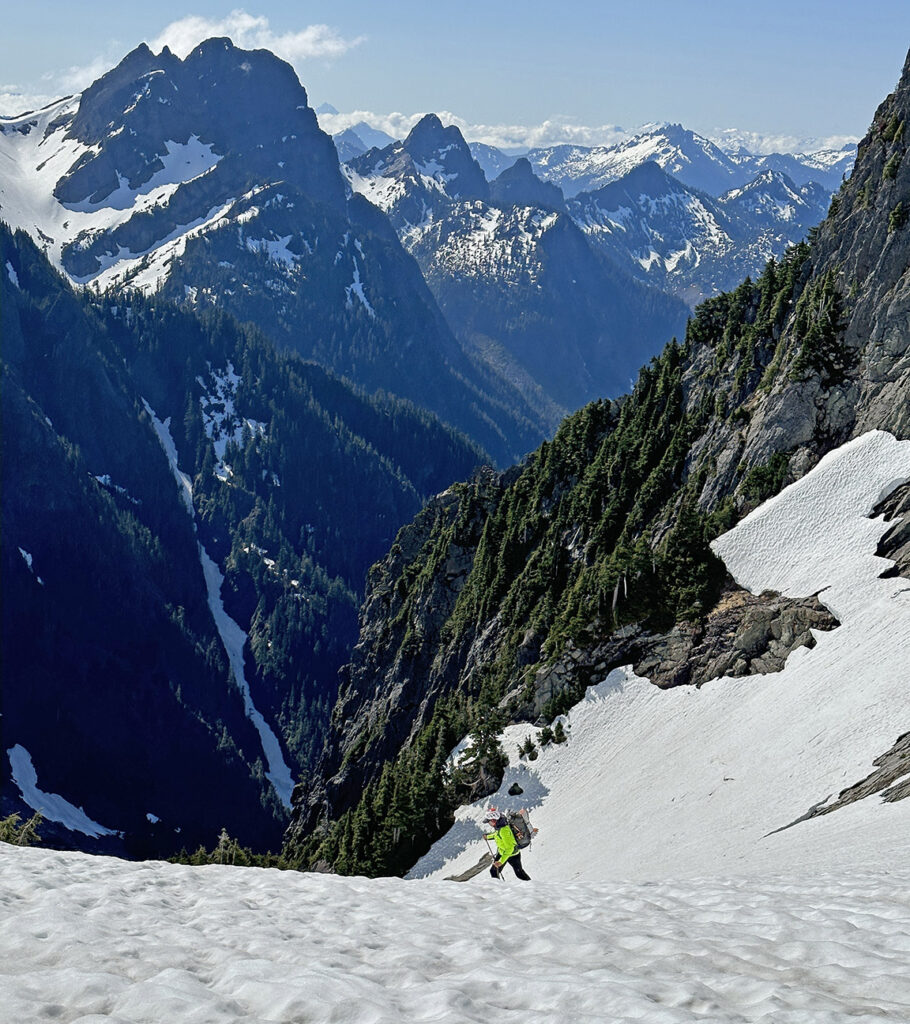
This information is specifically for backpacking in the winter conditions of the Pacific Northwest and Cascade Mountains.
Pain in our feet can take the joy out of backpacking, slow you down, and prevent you from completing the hike. Think of your footwear as a system of socks, shoes, and traction that needs to work comfortably and efficiently together in winter terrain. If one or more parts fail, our movement is slowed and we become susceptible to injuries such as falls, blisters, and sprained ankles. If this system is not in sync we expend energy inefficiency.
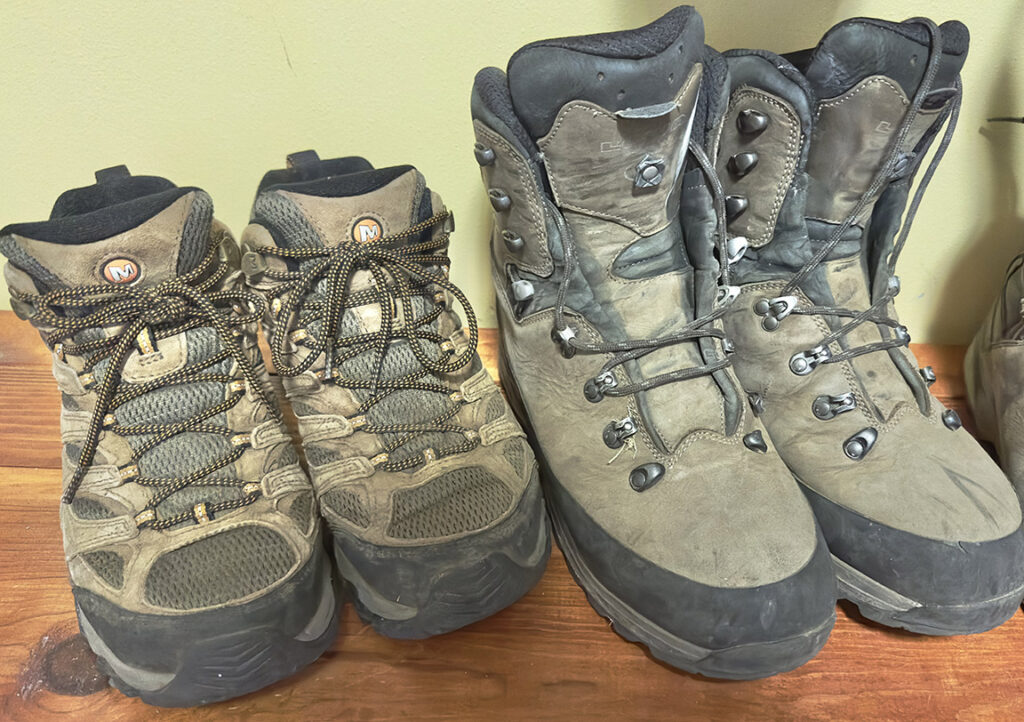
Our winter backpacking group hikes year-round in the Washington Cascade Mountains in different terrain and weather conditions—from rocky coastal terrain to icy mountain slopes. For some trips traditional hiking or trail running shoes work fine and for others more rigid boots are necessary. You may choose to use different footwear for different events or you may want to buy one pair for all your needs. In rare cases, you may even want to bring two pairs of shoes such as a comfortable flexible shoe and a stiffer boot, such as, on a long dry approach that then turns into hard snow. However, given the extra weight, a single all-purpose boot is ideal.
Main Requirements
Our group is mainly hiking below 8000 feet on snow and ice, and smooth and rocky terrain (scree and tallis) in temperatures 5º F and above. Typical distances range from some deep snow events that are less than 7 miles round trip to longer mixed dirt and hard snow events that can exceed 12 miles per day.
Given these parameters, we require the following in a winter backpacking boot:
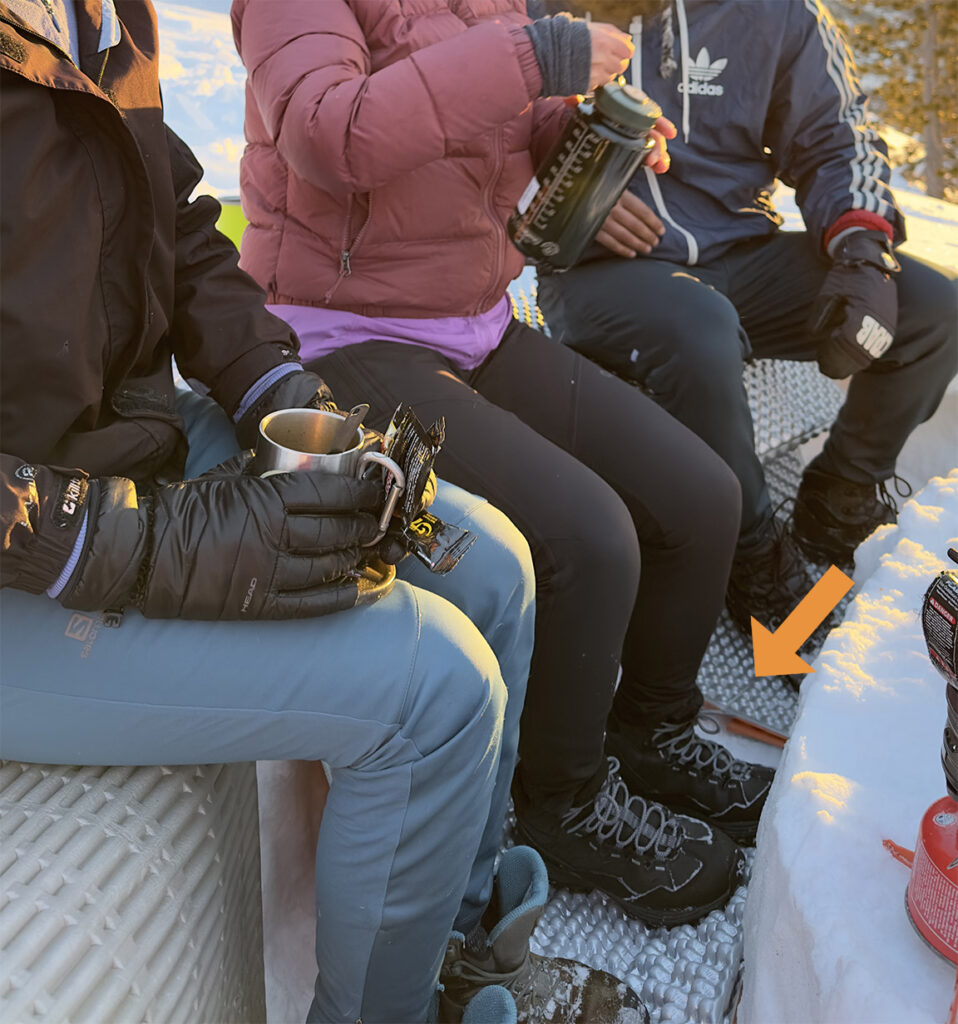
- Warmth: Many walking shoes and boots lack insulation for warmth. It is good to have warm water-resistant boots but you do not need to have extra winter insulation for warmth because you are moving with a backpack and your feet will likely overheat if they are too insulated. Avoid boots with fur linings or removable linings. Wool socks are sufficient (double layers: polyester or wool liners + outer thick wool socks). We are not hiking in Alaskan temperatures nor moving slowly like technical mountaineers. When you’re at camp sitting, standing around, and not burning energy, you will need your solid insulated pad under your feet.
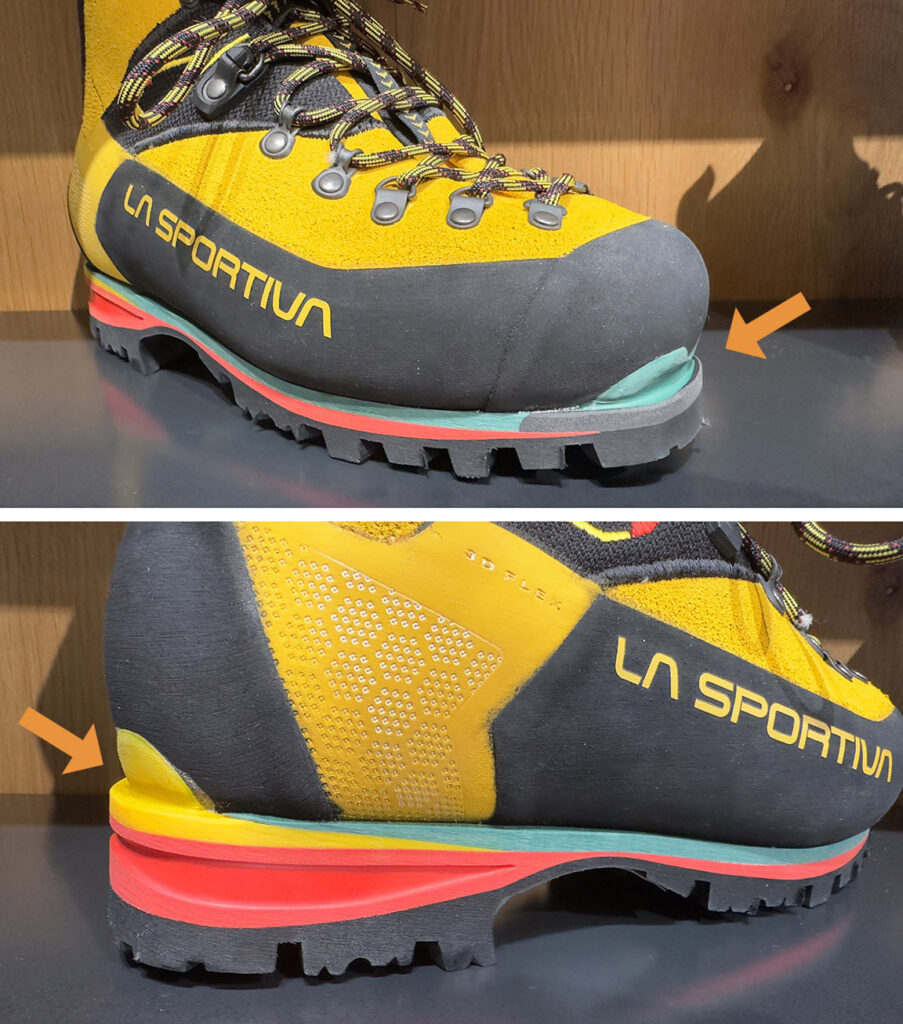
- Step Kicking: In hard snow on steep terrain your boots must have a hard sole and stiff toe box to punch steps into the snow. This is essential for safety on steep terrain. Hiking shoes and boots without a rigid sole and stiff toe box will not allow you to create support holes in hard snow. Without these features, you will burn enormous amounts of energy trying to prevent yourself from sliding off the slopes. Kick-stepping capabilities are especially useful from March–June.
- Snowshoes: The most comfortable and flexible B-1 hiking boots will work for snowshoes in the early winter season. (See box below for B-1, B-2, and B-3 definitions.) However, flexible boots may not give you the kick-stepping capabilities you need in end of season winter terrain when you need to switch out of your snowshoes and put on crampons. Snowshoes are especially useful from December–March.
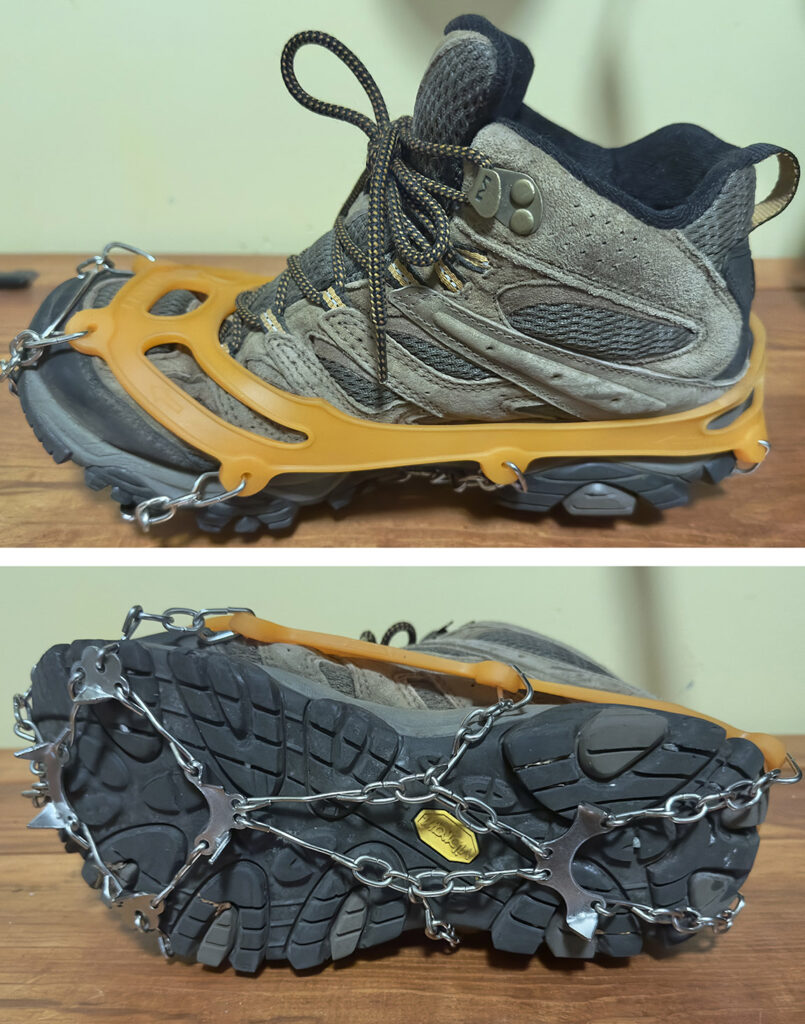
- Microspikes: Microspikes will work on any B-1 hiking shoes and boots. They provide essential traction on compacted or hard snow. (Note that traction cleats, such as Yaktrax, are not sufficient for steep terrain. However, Yaktrax can be useful for traveling over coastal rocks covered in slippery seaweed.) Microspikes are especially useful from March–June.
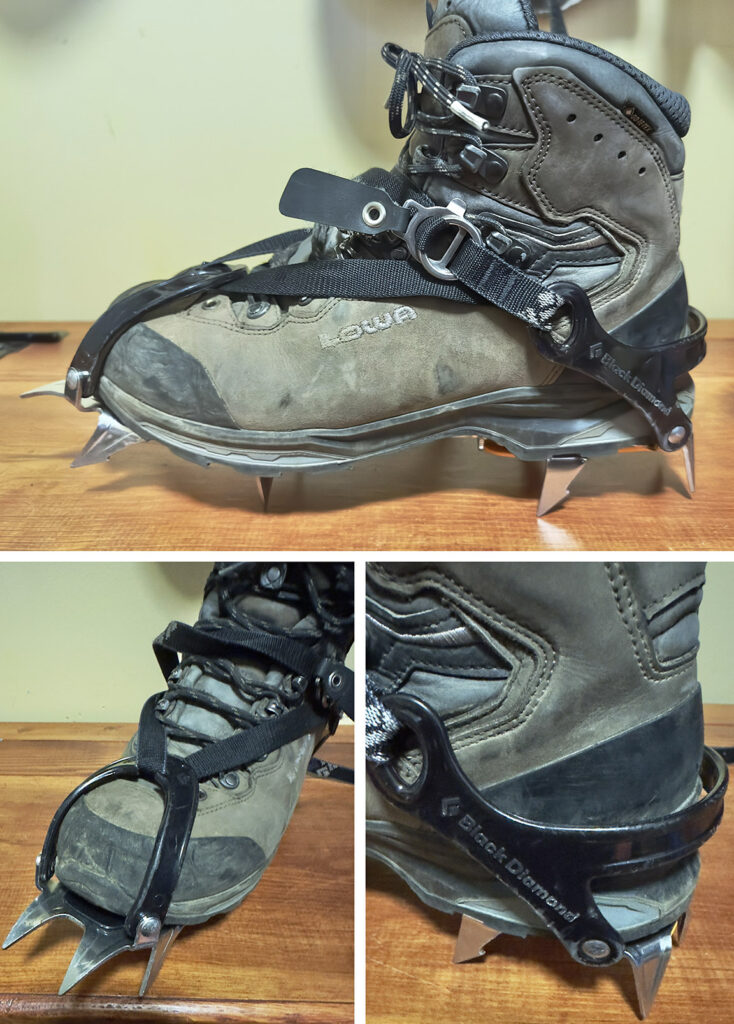
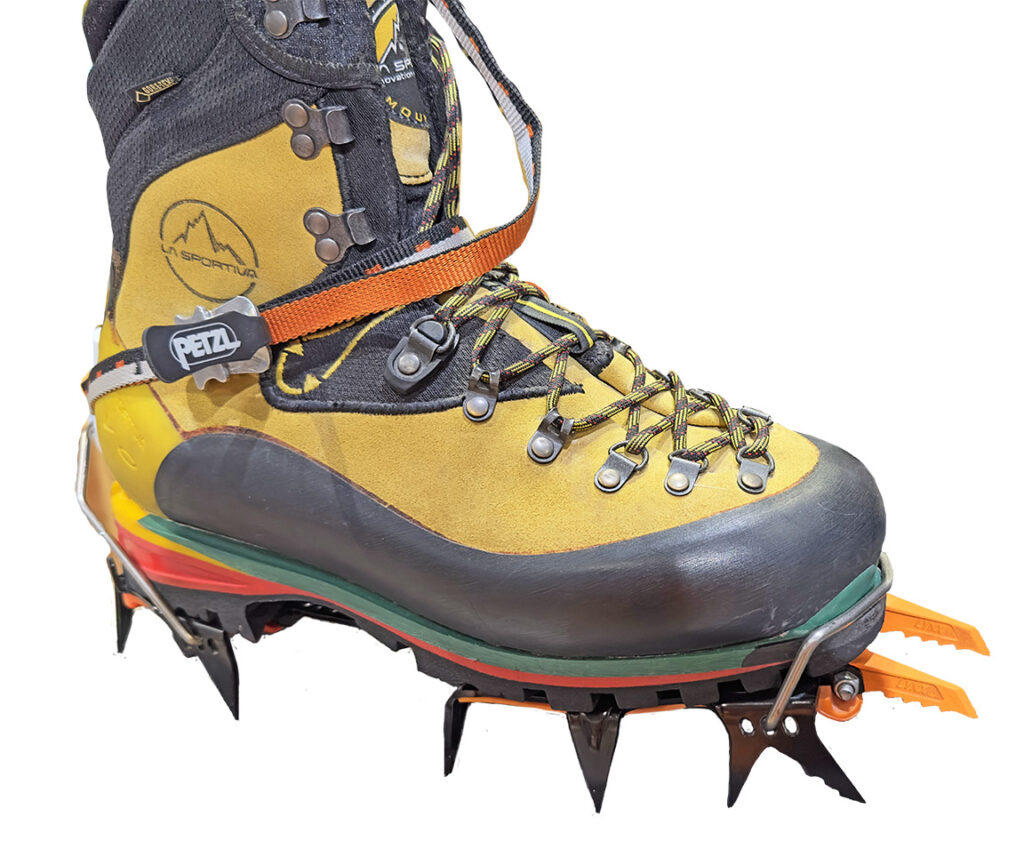
- Crampons: Strap-on crampons (C-1 type) are sufficient for winter backpacking. However, if the shoe or boot is too flexible, especially easy lateral twisting, the crampons may come off or fracture the center bar. Crampons work best on boots with rigid soles. Aluminum crampons are less durable. Crampons with antibotts help to unload snow. Crampons are especially useful from March–June. Our backpacking strategy is to avoid glacier travel. If you are contemplating glacier travel and the possibility of climbing out of a crevasse, look into B3 boots and C3 crampons.
- Support: The steeper the terrain the more rigid your boots need to be to provide support when only a portion of your boot has surface contact. This is important for safety. The rigid soles provide support and reduce the amount of energy required to remain stable on the slope.
- Sole Protection: When carrying a heavy pack over rocky terrain the soles of your feet need protection from the sharp and pointed edges of the rocks.
- High Gaiters: Gaiters prevent snow, scree, and dirt from getting inside your boots and keep most of the mud off your hiking pants. High gaiters extend up to the knees and are best for deep snow while low gaiters work well in the summer when the trail is dry. Look for high gaiters with an extra-rugged fabric added to the ankle insides to protect your ankles against crampons.
B1, B2, and B3 Boot categories
B2 and B3 Mountaineering boots can be used but are generally unnecessary and uncomfortable for backpacking. There are two main categories of mountaineering boots, B2 and B3. B2 typically has rigid soles, a reinforced toe box, and a notch on the back for clip-on crampons. The flexibility of B2 boots varies. The more flexible versions will be more comfortable for backpacking. B3 boots have a rigid shank with almost no flexibility, added insulation, and a back and front notch for automatic (C3) crampons. B3 boots can be fitted with C1, C2, and C3 crampons.
The system of B1, B2, and B3 boots is somewhat unreliable because sole stiffness varies between brands and models. Any boot without a back notch for crampons is considered a B1 boot. This means the B1 category includes a wide range of flexible and rigid boots. There are B1 options that are rigid enough for crampons (comparable to B2 boots) and sufficient for all our winter backpacking needs such as the Lowa Camino or Lowa Tibet EVO series. Try on different brands and models to find the right fit for your feet.
If you regularly do technical climbing and want to use your B2 or B3 mountaineering boots this can work for our winter backpacking events and especially for shorter cold weather hikes. However, you will be more comfortable with boots that are more flexible.
Avoid showing up with *new* hiking shoes or mountaineering boots for long hikes as you will likely be uncomfortable and get severe blisters. Start out with neighborhood walks and shorter hikes to break in your new boots and condition your feet.
Important Fitting Considerations
Foot warmth depends on four main factors:
- Fit: Winter boots need to be loose. If your boots are tight, your blood circulation is restricted and your feet will be cold. Your toes are the hardest part of your feet to keep warm. The toe box needs to allow your toes to wiggle. A large toe box is essential. Consider a wide shoe option when selecting boots. Pro tip: some winter boots come in a wide sizes that may not be found a large retailers but are available on the manufactures website. For some models, you can also begin the laces above the toe box to make the box looser. Most winter backpackers use 1, 1.5, or 2 sizes up from what they normally wear. IMPORTANT: When trying on boots, wear the socks you will be hiking in (ideally, the double-layer sock strategy, but not tight socks). Try on boots with the laces undone. Shove your toes into the front of the boot, then place your index finger between the back of the boot and your heel. The index finger should just fit. When the boot is laced, the toes should not hit the front of the boot, which is important when hiking downhill. For more about socks, see What are the Best Socks for Winter Backpacking?
- Dryness: If boots are too waterproof your feet will get wet from sweat. If the boots are water resistant and breath, prolonged contact with snow will likely lead to wet feet. Once boots are wet it is unlikely you will be able to dry them. Periodic application of waterproofing waxes and sprays will help. Bringing extra socks is recommended. It is also useful to use plastic bags or vapor barrier socks to keep your camp socks dry when using wet boots around camp.
- Insulation: Many B-1 boots have sufficient insulation for winter backpacking. A double layer of wool socks (thin + thick) provides sufficient insulation in combination with the boot insulation. This double-layer sock system is also highly effective at preventing blisters. Keeping your feet warm around camp when you are not moving is the greatest challenge. This requires putting a folded solid-core pad under your boots, which provides a 4 R-value level of insulation, and leaving your boot laces untied for added looseness and circulation. If your boots are moist or wet, use plastic bags or vapor barrier socks to keep your socks and feet dry. Once in your sleeping bag, you can also use down booties to boost foot warm on colder nights.
- Core warmth: If your core (your upper body) is cold, your body naturally restricts bloodflow to your extremities (hands and feet) to protect your core (heart, inner organs, and brain). Cold feet are often a sign that your core temperature is dropping. Wear appropriate top layers and a cap to maintain foot warmth. You can also insert a hot-water bottle into the inside pocket of your down jacket. If the issue persists during hiking, a bottom base layer may be required.
Why are your feet cold?
Hikers commonly complain about cold feet. The two most obvious reasons for cold feet are boots that are too tight and the practice of standing around camp on the snow without putting an insolated pad under the feet. If your boots fit your feet snuggly with a single pair of regular hiking socks and you switch to thicker wool socks or the recommended double-sock strategy without upsizing your boots, your feet will absolutely be cold due to restricted blood circulation. If you stand around camp on the snow without putting your pad under your feet, your boots and socks alone are not enough to prevent heat loss. Use your pad! One layer is only 2 R-value. Fold it under your butt and feet to get 4 R-value.
Other considerations
Trail runners: It is hard to keep your feet warm and dry in snow and winter conditions. Trail runners work well for warmer 3-season hiking with ultra-light backpacks, such as when we are hiking the Washington coast or sections of the PCT. Some trail runners (Altra and Hoka) have remarkably stiff soles and good cushioning making them ideal for 3-season hiking in the mountains.
Weight: Lighter-weight hiking boots will increase your efficiency and reduce fatigue. You should be able to find adequate boots that are less than 3 pounds per pair.
Materials: Leather is a somewhat waterproof material, durable and breathable. Gore-Tex blocks liquid water while allowing water vapor to pass through and is designed to be a lightweight, waterproof fabric for all-weather use. Gore-Tex is typically coated with water-repellent treatment, but this degrades with use. Typically, a boot may need additional waterproofing within a year. B3-level boots often have plastic uppers and are the most waterproof.
How loose should a boot be?
If the boot doesn’t have high ankle bands, you should be able to remove it without too much difficulty when fully laced up. For this level of looseness, higher ankle bands help to secure the loose boots on your feet. You do not want your boots to come off while snowshoeing or using crampons. Lace the boots tighter when using crampons.
Chronic foot problems
Backpackers with chronic foot problems such as plantar fasciitis (heal pain), metarsalgia (pain in the metatarsalgia), or foot arthritis may consider insoles for their winter boots. Options include Superfeet and Currex. It is important to try on insoles with your hiking boots, ideally before purchase. In addition, insoles need to be broken in before participating in any long backing trip.
Winter backpacking favorite winter Boots (2024)
Member of the winter backing meet up have good experiences with these winterboots:
- Lowa Camino
- Lowa Tibet EVO series
- La Sportiva Trango Tech GTX
- La Sportiva TX4 Mid GTX Approach Shoes
Summary
Choosing the right hiking boot ensures an enjoyable trip. Winter boots should be comfortable, warm, and breathable yet shed water easily. Your boots should sync well with your socks and traction device. If your system fails, fatigue, injury, and blisters can occur.
Top Tips for Winter Boots
- Use the double-sock strategy. Use the thin/thick double-layer sock strategy for warmth and blister protection.
- Fit your boots to the socks you will be wearing. When trying on and purchasing boots, be sure to wear the socks you will be hiking in.
- Winter boots need to be loose. If your boots are tight, your blood circulation is restricted and your feet will be cold.
- Have boots with a large toe box. The toe box needs to allow your toes to wiggle. A large toe box is essential. Consider a wide shoe option when selecting boots.
- Up-size your winter boots. Most winter backpackers use 1, 1.5, or 2 sizes up from what they normally wear.
- Use the Index-Finger test. Try on boots with the laces undone and wearing the socks you will be hiking in. Shove your toes into the front of the boot, then place your index finger between the back of the boot and your heel. The index finger should just fit.
I want to thank Dr Scottie Bussell for his help editing and advising on this post.
What Do You Think?
We want to hear from you! In the comment section below, let us know what boots you are using and what is working well for you in winter conditions.
2 replies on “Footwear for Winter Backpacking”
Love the guide and insight. As I prepare for the upcoming winter and future seasons I will definitely refer to this regarding fit and functionality. Thanks again for your insight!
Thanks Dan!